How to Properly Store and Maintain Your Artist Easel?
Tired of a wobbly or dusty easel? Discover easy tips to store and maintain your artist easel like a pro - keep it clean, stable, and studio-ready at all times!


Think about the last time you finished a painting session. Maybe you were proud of your artwork, but you also noticed a few paint drips on your easel, or you left it in a corner without much thought. Over time, those little habits can cause an easel to wear out or become more challenging. Luckily, caring for your easel doesn’t have to be complicated.

With a few basic steps, you can keep your easel in top shape, ready to support your canvases whenever inspiration strikes. Proper storage and maintenance can significantly affect the lifespan and ease of use of a wooden or metal stand. Let’s explore tips to help you enjoy your easel for a long time.
Why Easel Maintenance Matters?
An easel experiences plenty of wear and tear from repeated adjustments, spilled paint, and the pressure of supporting different canvas sizes. If left uncleaned or stored in a damp corner, you could eventually face problems such as loose screws, warped wood, or rusted metal parts.
A well-maintained easel can:
- Stay Stable: No one wants a wobbly canvas when adding fine details.
- Last Longer: Simple cleaning and checks can give your easel a good lifespan.
- Look More Professional: A clean easel shows you take your art space seriously.
- Improve Efficiency: Adjustments are smoother when parts are well cared for.
Like any other art tool, your easel works best when you treat it with kindness. Let’s get into the specific steps now.
Cleaning Your Easel
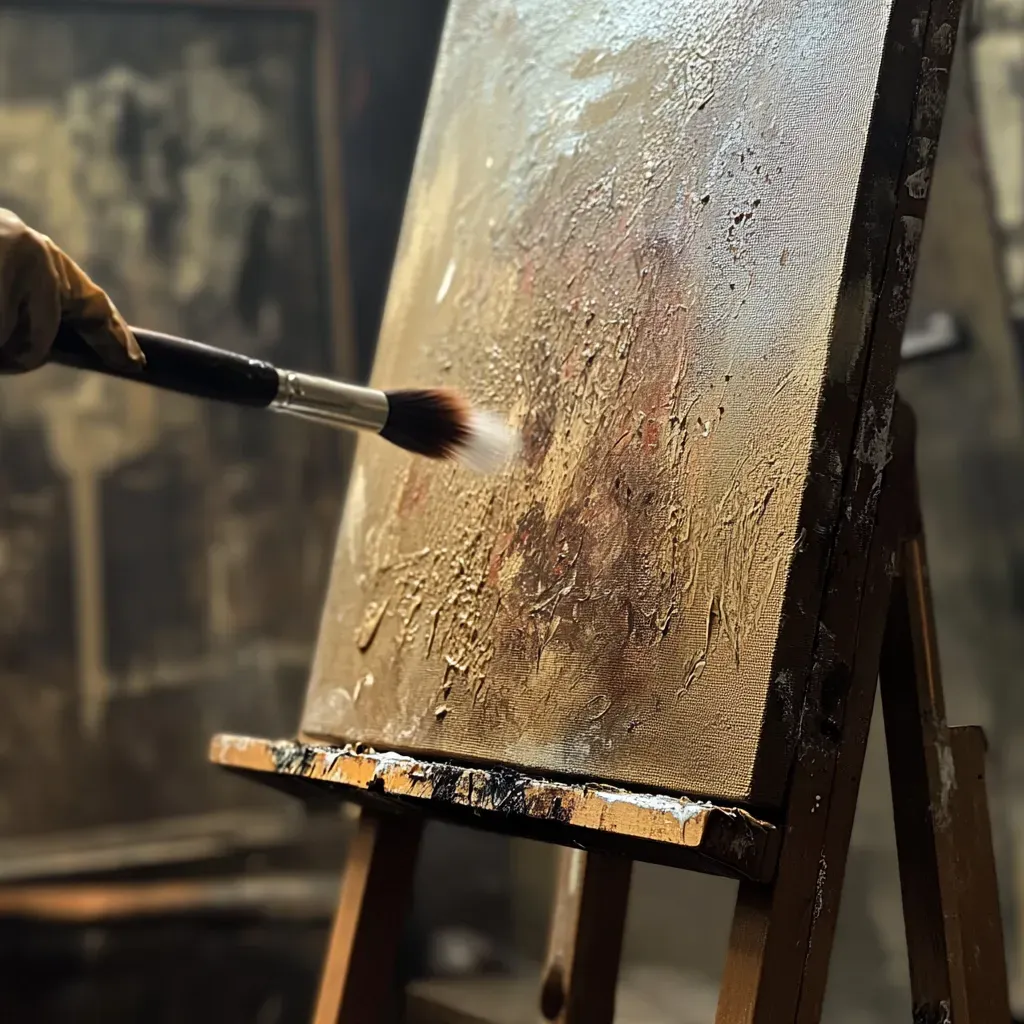
Regular cleaning prevents paint drips and dust from building up. You don’t have to spend hours doing this—just a quick wipe-down after each session can help.
- Remove Excess Paint: If you spot paint that’s still wet, wipe it off with a rag or paper towel. For dried paint, use a palette knife or an old gift card to scrape it away gently.
- Use Mild Soap or Cleaner: A small amount of gentle soap mixed with water can help remove stubborn spots, especially when dealing with oils or acrylics. Dip a cloth into the soapy water, wipe the easel’s surface, and dry it with a clean towel.
- Don’t Soak Wooden Parts: Water can seep into wood and cause swelling or warping. Keep your cloth damp rather than soaked, and wipe up any moisture immediately.
- Check Metal Joints: If you have a metal easel or fittings, you might see tiny paint flecks stuck in the hinges. Use a cotton swab or an old toothbrush to remove them.
Polishing and Oiling (For Wooden Easels)
Wooden easels often benefit from polishing or oiling every once in a while. This step isn’t necessary daily, but it can keep the wood from drying out or showing signs of wear.
- Pick a Light Oil or Wax: Most hardware stores sell furniture wax or wood oil. Some artists use linseed oil, which can stay sticky if applied too heavily. Choose a product designed for wood furniture if you want a quick, no-fuss solution.
- Test in a Small Area: Just like with paint, it’s wise to do a test spot in an inconspicuous area. This helps you see if there’s any odd reaction or unwanted shine.
- Apply Gently: Put a small dab on a cloth, then rub it into the wood in circular motions. Avoid soaking the easel; a little oil goes a long way.
- Buff to a Soft Shine: Let it sit briefly, then use a clean cloth to buff away any excess.
Preventing Rust on Metal Easels
Metal easels can be great for portability or a sleek look but can also be prone to rust if not stored correctly. Here are a few quick tips to keep rust at bay:
- Wipe-Off Moisture: If you paint outdoors or live in a humid place, dry off your easel after each session.
- Avoid Storing in Damp Areas: Basements or garages can trap moisture. A well-ventilated spot is better.
- Use Protective Spray: Some artists use a light coat of anti-rust spray on hinges or screws. Make sure your easel is clean and dry before applying anything.
If you notice a small rust spot, gently sand the area with fine-grit sandpaper and then touch it with paint or rust-preventive coating.
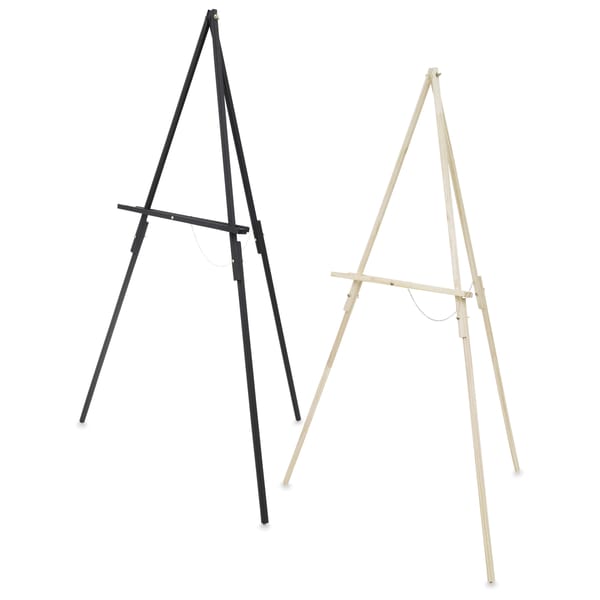
Folding and Compact Storage
Many easels are designed to fold or collapse for easy storage. Whether you have a wooden A-frame or a metal tripod model, folding it carefully can prevent damage.
- Loosen All Knobs and Screws: Don’t force the easel to fold with the knobs still tightened. This can strip the threads or snap parts. Loosen them just enough to fold the legs smoothly.
- Fold Slowly: Move each leg or arm one by one. If you sense resistance, pause and see if something is stuck or if a knob is still tight.
- Wrap or Cover: Some artists wrap their folded easel in an old sheet or store it in a bag. This keeps dust away and protects any protruding parts.
Picking the Right Storage Spot
Where you store your easel can be as important as how you store it. If you leave it in a place with extreme temperatures or humidity, you could end up with warped wood or rusted metal. Consider these factors:
- Temperature: A moderate, consistent temperature is ideal. Large swings between hot and cold can stress the materials.
- Humidity: Keep your easel in a dry room. If only a basement is available, you might place a small dehumidifier.
- Sunlight: Prolonged direct sunlight can fade or dry out wooden easels. Place them in a corner away from strong sunlight is often best.
- Vertical vs. Horizontal: Many folks lean their easel against a wall when not in use. That’s fine if you have space. Place it on a blanket or towel to protect the edges if you need to lay it down.
Checking Joints and Screws
Over time, screws can loosen, making your easel feel wobbly. A quick inspection now and then can keep everything snug. This is especially relevant if you adjust your easel’s height or angle frequently.
- Use the Right Tools: Small screwdrivers or Allen wrenches can handle most easel hardware.
- Tighten Gently: Turn screws until you feel resistance. Over-tightening can strip the threading or crack the wood.
- Replace Missing Screws: If you notice a missing piece, a trip to a hardware store with the old screw can help you find a matching replacement.
Dealing with Minor Damage
Sometimes accidents happen. A hinge is bent, or a wooden piece is chipped. Before you assume you have to throw out your easel, consider whether you can fix it yourself.
- Wood Filler for Small Chips: Wood filler or putty can patch things up if the wood is slightly chipped. Sand it down once dry, and you might never notice the chip again.
- Straightening Metal Parts: A bent metal leg might be salvaged by gently bending it back, though be careful not to snap it.
- Gluing Loose Pieces: Wood glue can reattach small broken parts, but clamp them firmly while the glue dries to keep everything in place.
If you have a more significant repair, you could ask for help at a local hardware store or an art supply shop. They might have suggestions specific to your easel’s brand or material.
Regular Maintenance Schedule
It’s easy to forget maintenance until your easel starts squeaking or tipping over. Try setting up a simple schedule to keep track of small tasks. Here’s a possible routine:
Frequency | Task |
|---|---|
After Each Use | Wipe off paint drips, lightly dust surfaces |
Once a Month | Check screws, remove any hidden paint in hinges |
Every 3-6 Months | Oil wood (if wooden), check for rust spots (if metal) |
Yearly | Deep clean, replace worn parts or knobs |
Making a note on your phone or calendar can remind you when it’s time for these tasks. They usually only take a few minutes, but the payoff is a longer-lasting, smoother, more straightforward experience.
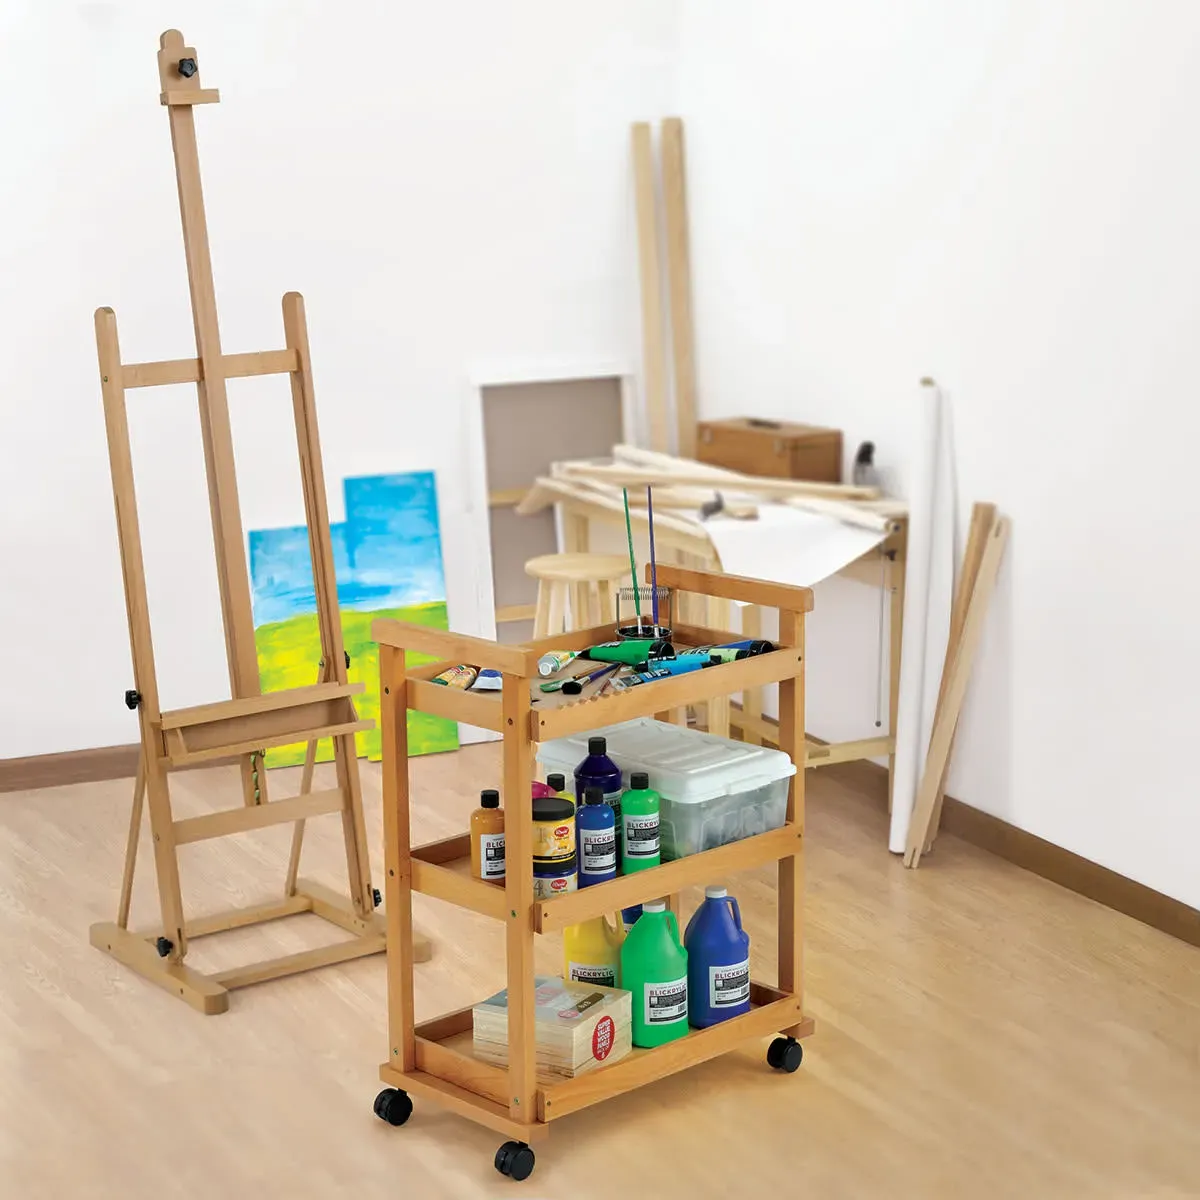
Where to Buy or Upgrade Your Easel?
If you discover your easel is beyond repair or want a new one, you can look into Blick Art Materials. They have many easels, from small tabletop models to heavy-duty studio frames. You'll likely find a good match if you want a sturdy wooden easel or a lightweight metal one. You can shop online or visit a physical store to see them. Reviewing product reviews and specs can also help you pick the right stand for your needs.
Additional Tips for Longevity of Your Easel

- Keep It Covered: If you don’t paint every week, consider draping a light cloth or plastic sheet over your easel. This reduces dust buildup.
- Avoid Overloading: If your easel has a weight limit, respect it. Overloading can strain screws and joints.
- Check Movement: If your easel has wheels or swivel parts, watch them. Lint or hair can get wrapped around casters, making moving harder.
- Store Accessories Separately: Some easels come with clips or small trays. If you remove them for storage, keep them in a labeled bag so you don’t lose anything.
Final Thoughts
Storing and maintaining your easel might be a hassle, but it pays off. A little attention can keep your easel running smoothly for years. You’ll be happier when your stand is stable, free from rust or grime, and ready to hold your canvas immediately.
Try to give your easel a quick once-over after each painting session. Wipe away paint, fold it gently to save space, and keep it in a safe spot. These small steps add up, giving you a more enjoyable art experience and extending the life of your equipment.