What Is an Acrylic Paint Primer? A Complete Guide for Artists
What’s an acrylic primer and why use it? Learn how to prep canvas or wood for smooth, lasting paint application. Read the full artist guide now.

A clean, predictable surface saves paint, time, and frustration. An acrylic paint primer seals, levels absorbency, and adds tooth. Hence, colours sit bright, edges stay crisp, and layers bond securely across canvases, panels, and hard-to-paint materials, such as metal, glass, and plastic. In this article, we will cover everything about primer, from its types to its appeal to users.
What Exactly Is an Acrylic Paint Primer?
A primer for acrylic paint is a water-based coating that prepares a surface for painting by sealing pores and creating a uniform tooth. It not only improves adhesion but also reduces uneven absorption and stabilizes sheen so glazes and scumbles behave consistently. Choose a primer when you want fast drying, low odour, and soap-and-water cleanup without sacrificing durability.
Why Do Artists Use Acrylic Primer Before Painting?
A primer equalizes how paint wets and dries across the surface, preventing patchy gloss and colour sink-in. Moreover, it also reduces warping on paper, MDF, and thin panels by limiting moisture exchange. When you need dependable bonding on non-porous surfaces or stain resistance on knotty wood, a compatible primer for acrylic paint formulas provides the most reliable base.
What Are the Main Types of Acrylic Primers?
Most artists keep one general primer and add specialty options for tricky surfaces. A well-chosen acrylic paint primer cuts prep time and prevents flaking, lifting, or discoloration later. When in doubt, test a small patch or use a primer specifically labelled for the exact substrate.
Glass Primer for Acrylic Paint
Glass is slick and non-porous, so cleaning is everything. Degrease with isopropyl alcohol, avoid fingerprints, and apply a bonding or "etching" undercoat in thin layers. Let each coat dry completely before applying the next one. Light scuffing with very fine abrasive pads can help, but keep scratches uniform to avoid telegraphing through transparent passages.
Metal Primer
Metal needs degreasing and, where necessary, rust removal before priming. Select a corrosion-resistant base that resists flash rust and adheres to smooth alloys. A thin acrylic paint primer coat is preferable to a thick one, as it builds adhesion in multiple passes. For outdoor or high-wear pieces, apply a clear coat after painting to protect the finish.
Plastic Primer for Acrylic Painting
Many plastics contain mould-release agents and have very low surface energy. Wash thoroughly, then lightly scuff. A specialty bonding layer formulated for plastic, combined with a compatible primer, creates a dependable bond. Avoid using aggressive solvents that may craze the surface; test first on an inconspicuous area.
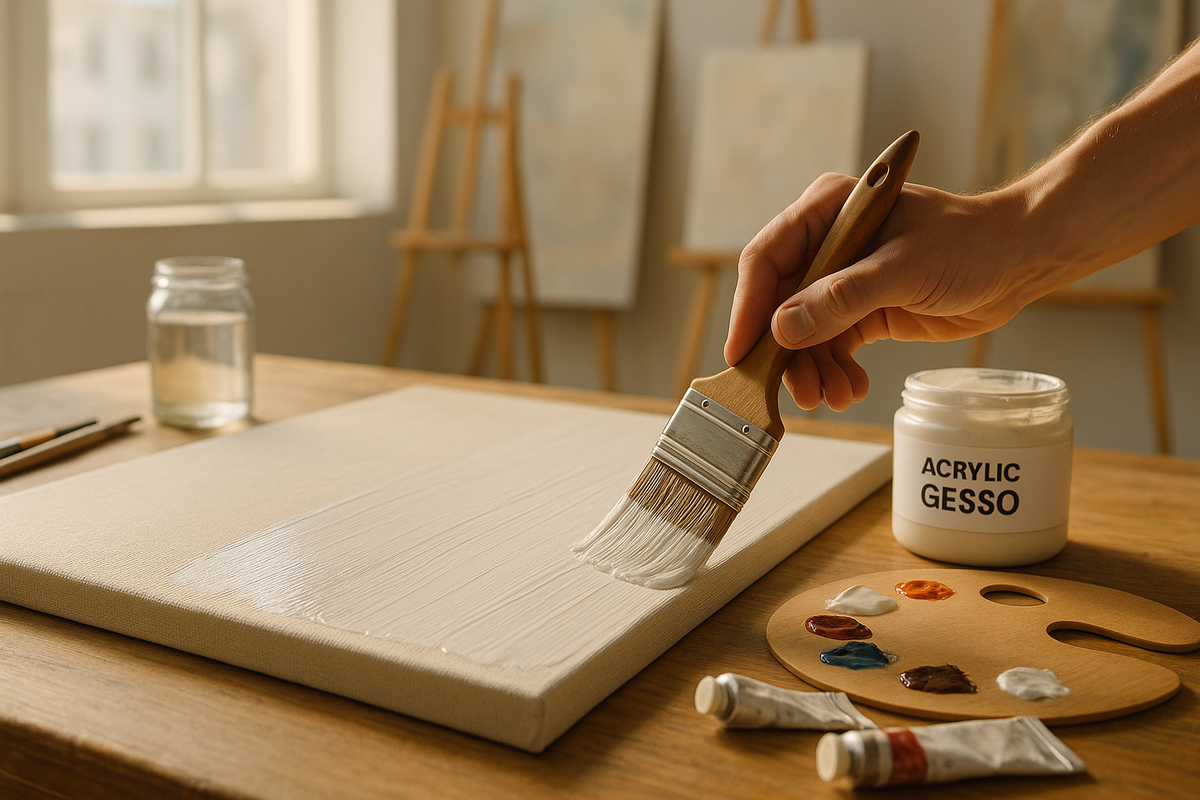
Gesso Primer for Acrylic Paint
Modern acrylic gesso is a flexible painting ground that adds a gentle tooth while sealing canvas and panels, providing a smooth surface for painting. It's excellent for underdrawings, glazing, and controlled brushwork. Multiple thin coats, sanded lightly between, yield a velvety surface that accepts both broad applications and sharp, crisp edges.
Wood Primer for Acrylic Painting
Wood and MDF are thirsty and can bleed tannins. Seal the end-grain and cut edges first, then apply a stain-blocking acrylic paint primer—sand between coats for a flat, splinter-free surface. For panels, seal both faces to balance moisture and reduce warping over time.
Acrylic Primer vs Gesso: What's the Difference?
Acrylic primer is optimized for sealing and adhesion across diverse substrates, while gesso is a toothy, paint-friendly ground; both work under acrylics but feel and perform differently.
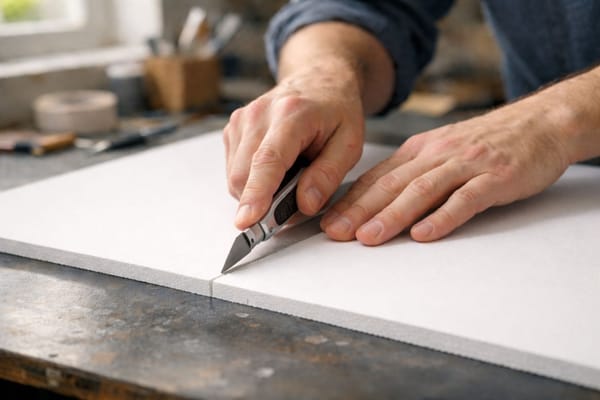
How to Apply Acrylic Paint Primer (Step-by-Step)
Even great paint struggles on a poorly prepared surface. These steps standardize absorbency and bond strength so layers behave predictably from the first stroke.
- Prep the surface. Remove dust, oils, and loose fibres: Degrease slick materials and de-rust metal.
- Lightly abrade if needed—scuff glossy or non-porous areas with fine grit to raise mechanical tooth.
- Stir, don't shake. Shaking traps bubbles that can cause pinholes in the film; decant only what you need.
- First coat, thin and even. Roll or brush a lean layer of acrylic paint primer with consistent pressure; avoid puddles.
- Dry to the label spec. Provide airflow; avoid rushing through soft films and gumming up abrasives.
- De-nib the surface. Sand lightly with 320–400 grit; wipe with a lint-free cloth.
- Second coat. Apply another thin pass; repeat light sanding if an ultra-smooth finish is desired.
- Edge sealing. On wood/MDF, seal edges and back faces to reduce future warping.
- Cure before painting. Allow for full cure to achieve optimal adhesion, tape resistance, and glazing control.
If you need strong bonding on glass or plastic, start with a specialized primer for acrylic paint formulated for non-porous surfaces, then proceed as above.
How Many Coats of Primer Are Needed for Acrylic Painting?
Two thin coats typically suffice for most canvases, watercolour papers, and clean panels. For knotty wood, stained substrates, or heavy weaves that you want to fill, plan on applying three thin layers rather than one thick coat. One additional pass of acrylic paint primer is cheaper than fighting streaky absorption and patchy gloss later.
Best Surfaces to Prime for Acrylic Paint
A well-matched ground expands the possibilities of what you can do with colour, texture, and masking. The goal is a predictable surface, not necessarily one that is perfectly smooth.
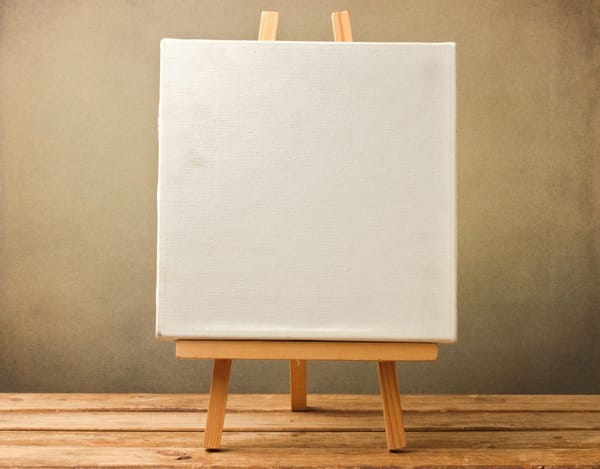
Canvas (stretched or panel)
Priming locks down lint and weave hairs, stabilizes tension, and prevents uneven sinking that can dull colour. For detailed work, apply one more thin coat and lightly sand to smooth out high threads.
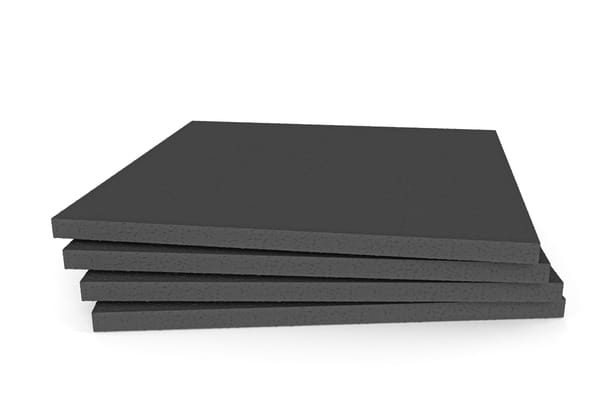
Wood and MDF
Seal every face, including edges and the backside, to balance moisture. Priming reduces swelling in humid rooms and blocks tannin bleed. MDF, especially when it benefits from thorough edge sealing and gentle sanding, achieves a glassy panel feel.
Paper and cardboard
A coat or two of gesso or clear primer strengthens fibres, resists buckling, and allows gentle lifting of pencil or charcoal underdrawing. Heavier papers can tolerate sanding between coats to achieve a surprisingly refined painting surface.
Metal, glass, and plastic (when using a specialized primer)
Use a purpose-made bonding layer and apply thin coats. For quick checks, try a thumbnail scratch after curing; poor adhesion means more scuffing, better degreasing, or a different chemistry.
Adhesion issues and how to test surface readiness
Create a simple cross-hatch pattern: score a 3×3 grid with a craft blade, apply painter's tape, burnish, and then pull sharply. If flakes lift, increase scuffing, switch to a stronger bonding primer for acrylic paint, or extend cure time before retesting.
Choosing the Right Primer for Acrylic Paint: Key Buying Factors
Picking the right ground upfront avoids rework and wasted paint. Use this checklist to match product to project.
Surface type and absorbency
Porous supports need sealing; slick substrates need chemistry that bonds at low surface energy. Multi-surface products are convenient, but specialized primers often outperform on difficult materials.
Opacity (white, clear, tinted)
White brightens colour and speeds coverage. Clear preserves wood grain and underdrawings. Tinted grounds reduce the time required to reach mid-tones and aid in value organization during block-ins.
Consistency (fluid vs heavy body)
Fluid levels easily with a foam roller for minimal texture. Heavier grades fill canvas weave faster and sand to a sleek finish for detail-forward work and crisp masking.
Brand reliability and archival quality
Look for flexible, non-brittle films that resist yellowing and chalking. Consistent viscosity across batches reduces surprises when you're priming a whole stack of panels.
Drying speed and finish (matte, satin, gloss)
Matte maximizes tooth; satin balances glide and grip; gloss is slick and usually benefits from a light scuff before paint. Faster drying helps increase throughput, but allows for a proper cure for optimal tape lines.
Expert Tips for Perfect Priming
A few pro habits transform "good enough" preparation into a foundation that feels tailor-made for your technique.
- Always let primer cure before painting. Dry isn't cured; cured films resist tape lift and hold sharp edges in glazing stacks.
- Sand lightly between coats for an ultra-smooth finish. Use 320–600 grit; remove dust to avoid nibs telegraphing through.
- Store the primer in an airtight container to prevent it from drying. Clean the rim so lids seal properly; decant small amounts to avoid repeated air exposure.
- Test on a small area before applying it full-scale. Confirm stain block, adhesion, and sheen against the exact substrate you'll use.
- Mind temperature and humidity. Cool, damp rooms slow cure and encourage surfactants to rise; provide airflow and moderate warmth.
- Keep coats thin. Multiple lean passes of primer for acrylic paint outperform a single heavy coat in terms of levelling, bond strength, and drying.
- Label panels. Note product, coat count, and dates; this speeds troubleshooting and repeatability on future builds.
Final Thoughts: Build Better Art From the Base Up
A reliable ground is the quiet partner of an acrylic paint primer in every successful painting. Treat surface prep as a creative setup rather than a chore, and your colours, edges, and layers will reward you.
- A sealed, even ground saves paint and time on every piece.
- Thin, well-cured coats support crisp masking and clean glazing.
- Matching product to substrate prevents flaking, warping, and stain bleed.
- Light sanding between coats provides a professional smooth finish.
- Keep notes so you can repeat perfect results on the next panel.
Frequently Asked Questions
Can I Paint Acrylics Without Primer?
Yes, but expect more absorption, faster colour dulling, and less control with masking tape and edges. A quick preparatory coat creates even wetting and steady dry time, which saves paint in the long run.
What's the Difference Between Acrylic Primer and Oil Primer?
Oil primers utilize oil binders and are specifically designed for use with oil paints. Water-based acrylic grounds dry quickly, clean up with water, and are suitable for a wide range of supports typically used for acrylic work.
Can You Use Acrylic Paint Primer for Oil Painting?
Many artists do, once the ground has fully cured. Some prefer oil-only primers on canvases for a traditional feel. Always read the label and test before committing to a long series.
How Long Should the Primer for Acrylic Paint Dry Before Applying the Paint?
Follow the manufacturer's guidance. Touch-dry can be quick, but the best results are achieved after the full cure. Overnight or longer provides superior tape resistance and glazing stability.
Can I Mix Primer With Acrylic Paint?
You can tint within manufacturer limits. Excessive colourant can reduce sealing power and impact film strength. For strong tints, consider a dedicated toned ground applied over a sealed, neutral base.