Tips for Setting Up Your Easel for Maximum Comfort and Efficiency
Want a more comfortable painting experience? Discover easy tips for setting up your easel to improve posture, workflow, and overall efficiency in your art sessions.

Suppose you’re excited to paint, but the thought of hunching over a poorly placed canvas makes you cringe. Maybe you’ve felt those nagging aches in your back or shoulders after a long painting session. Sometimes, all it takes is a few small tricks to your easel setup to make art more comfortable and enjoyable. In this post, we’ll explore how to arrange your easel so you can focus on the creative side of things without getting bogged down by body strain or cluttered tools.

When you have the proper setup, it feels like a natural extension of your body. You move around without bumping into chairs and never have to rummage through piles of brushes. We’ll discuss the key steps to creating a workspace that supports you while you paint, whether working in a cozy corner of your home or a larger studio space. Let’s dig in!
Why the Right Setup Matters
The way your easel is positioned affects your posture, the ease of your movements, and even the flow of your painting process. When your body feels supported, you can devote more brainpower to your art rather than your aches.
Benefits of a Good Easel Setup
- Reduced Strain on Neck and Back: Proper alignment keeps you from bending or twisting.
- Better Brush Control: When your arms and shoulders aren’t tense, your hand motions feel smoother.
- Steadier Focus: You won’t get distracted by discomfort, so stay in the zone longer.
- Easier Cleanup: When everything has its place, it’s simpler to tidy up and keep going the next day.
Getting the basics right can turn a quick hobby session into a productive art routine you look forward to. Let’s move on to some practical tips.
1. Pick the Right Location
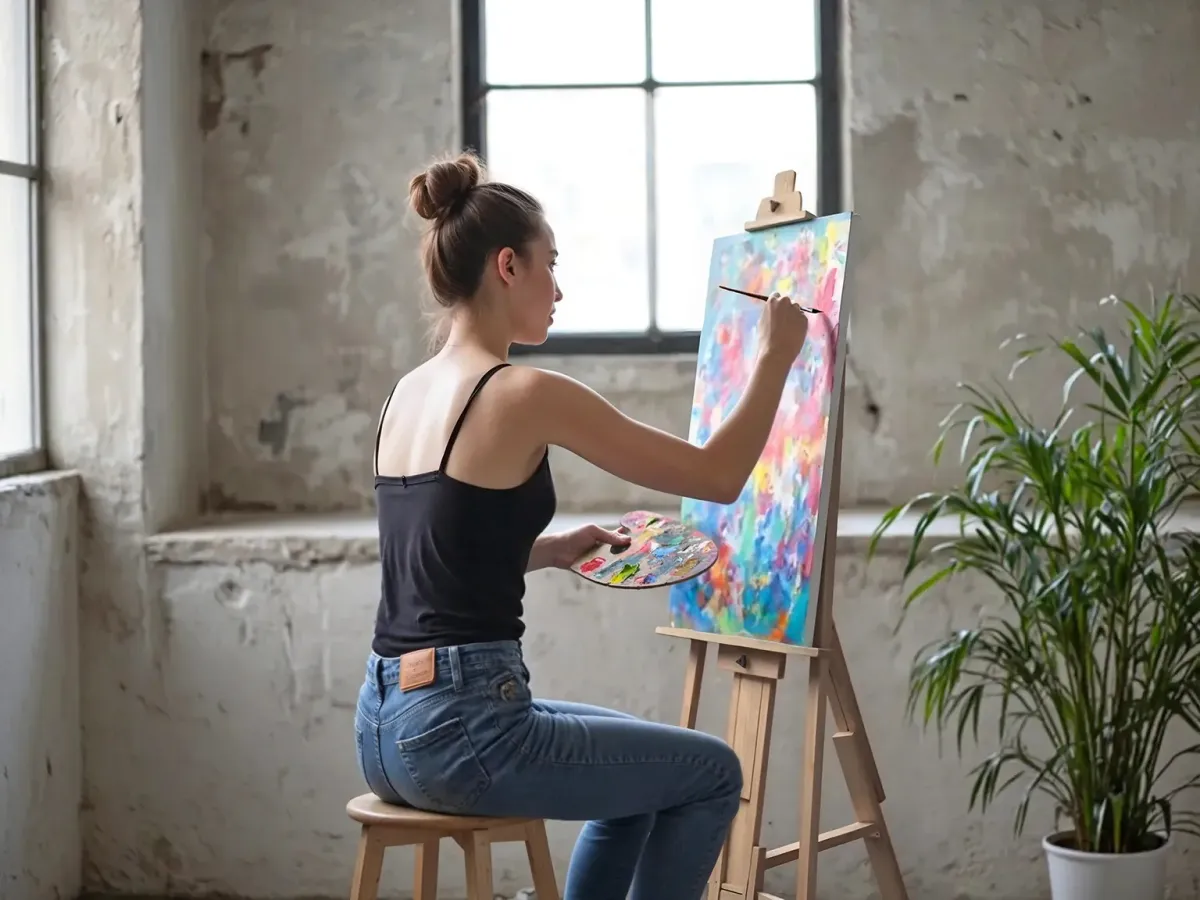
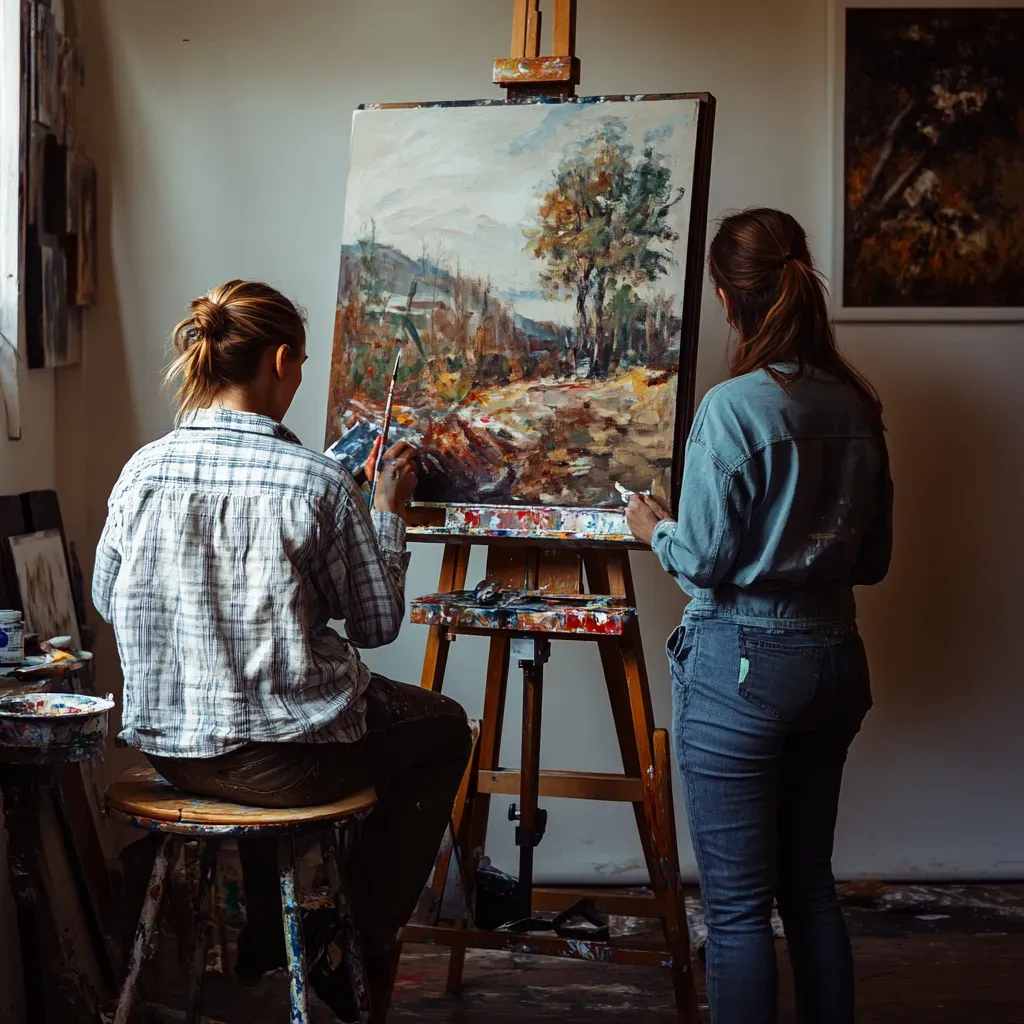
The first step is to choose a spot in your home or studio where you can easily set up your easel. Even if you live in a small apartment, finding a corner with enough room to move around is key. You want enough space to step back and view your work from a distance.
- Consider Natural Light: Many artists prefer a spot near a window because natural light accurately shows colors. You can also add a lamp or two if you paint at night or on cloudy days.
- Avoid High-Traffic Areas: If you set up in a busy hallway or living room, you might move whenever someone passes by. Aim for a quieter corner so you can focus.
- Look at Flooring: If you work with oils or acrylics, you should protect your floor. Lay down a drop cloth or use a floor covering to catch spills.
2. Adjust the Easel Height
One of the most critical pieces of advice for comfort is ensuring your easel’s height fits your body. Different easels have various ways to move the mast (the central vertical pole) or the canvas tray. Here’s a simple guideline: keep the top of your canvas around your eye level or slightly below it when standing. This position helps you maintain a more natural posture.
Standing vs. Sitting
- Standing: If you like to stand, keep your feet shoulder-width apart and your knees slightly bent to avoid locking them. This stance helps with balance and blood flow.
- Sitting: Pick a sturdy chair with good back support if you prefer to sit. Adjust the easel so you don’t have to hunch over your painting. Your elbows should rest at a comfortable angle, not too high or low.
3. Angle Your Canvas
The tilt of your canvas also impacts your comfort and painting technique. If your easel can tilt forward or backward, experiment until you find a position that suits your style.
Quick Tip:
Step back a few feet to observe your painting from different angles. This small habit can help you spot any perspective or color balance issues. It’s often easier to do this if your canvas is at a comfortable tilt, so you’re not constantly adjusting your head or shoulders.
4. Organize Your Supplies
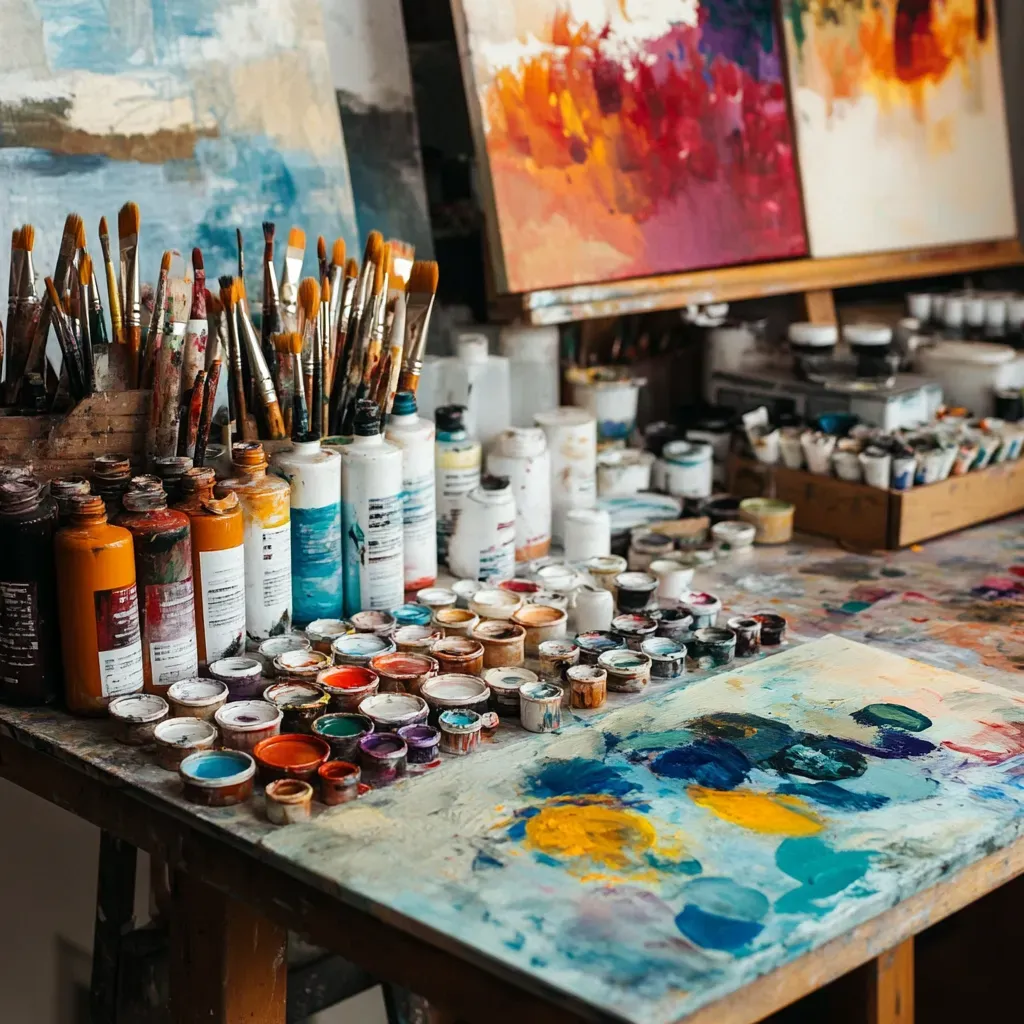
Nobody likes looking around for a brush during a painting session. When you set up your easel, arrange your materials logically. Place frequently used brushes, paints, and palette knives within arm’s reach.
Helpful Ways to Stay Organized
- Use a Side Table: Keep a small table or cart next to you for extra brushes, paint tubes, or paper towels.
- Create Sections: Group your tools by type. For example, have a section for brushes, a section for paints, and a section for mediums or solvents.
- Recycle Jars and Containers: Old jars can hold brushes in water, while small tins can have bits of chalk or clips.
5. Fine-Tune Lighting
Lighting can make or break your painting experience. A poorly lit canvas can mislead you about your colors and values. Position a window for soft, natural light. But not everyone has that luxury, mainly if you paint at night. That’s where lamps come into play.
Want to buy a new easel? Visit Blick Art Materias right now!
Lighting Tips Table
Light Source | Why It Helps | Tip |
|---|---|---|
Natural Window Light | Shows true colors and tones | Avoid direct sunlight that can cause glare |
Adjustable LED Lamps | Lets you direct light exactly where needed | Pick a neutral white to see accurate colors |
Clip-On Easel Lamps | Compact, easy to move, and point at your canvas | Use more than one if you want to reduce shadows |
6. Mind Your Body Posture
Even with a well-positioned easel, standing or sitting in one position for too long can cause soreness. Pay attention to your posture throughout your painting session.
- Relax Your Shoulders: It’s easy to tense your shoulders when you focus on details. Take a moment to lower them every so often.
- Wrist and Hand Care: If you’re painting for hours, your wrist can get stiff. Gently rotate your wrists and stretch your fingers every half hour.
- Take Short Breaks: A brief pause can refresh your mind and body. Step away, stretch your legs, and come back with new energy.
7. Manage Your Workspace
Comfort isn’t just about your easel and posture. Your overall environment matters, too. Keep a window cracked open, or use a small fan to move air around.
8. Match Your Medium
Different mediums require different setups. You'll want an adaptable easel if you like to switch between acrylics, watercolors, and oils. Some easels have a wide range of tilt angles, letting you paint flat (almost like a table) or fully upright.
Examples of Varying Needs
- Watercolor Painters: Often like a flat or slightly tilted surface to control washes.
- Oil Painters: Usually paint upright to reduce dust settling on wet paint and better see the actual proportions.
- Mixed-Media Artists: Might need to move between positions quickly so a flexible easel can be a real asset.
Knowing what you plan to paint helps you pick an easel that makes switching mediums less hassle.
9. Customize as You Go
No single setup works for everyone. You might start with a basic arrangement and then realize you’d prefer more space for your brushes or a different angle. Don’t be afraid to tweak things as you learn. Place a small shelf beside the easel for extra supplies, or add a second lamp to reduce glare.
10. Safety Considerations
It might not sound exciting, but safety does matter. You'll want proper ventilation if you’re working with solvents or fixatives. Always keep lids on flammable materials when not in use. This reduces fumes and lowers the risk of accidental spills.
Be mindful of cords and cables from lamps or electronic devices. Tape them down if they’re on a walking path. If you have kids or pets, you might store your supplies on higher shelves or locked cabinets when you’re done.
Where to Buy a Great Easel?
Blick Art Materials is a good place to start if you’re looking for a new easel that meets your comfort needs. They offer a wide selection, from lightweight metal stands to large wooden H-frame easels. You can browse online or visit a physical store, depending on what suits you best. Reading product details and reviews can help you choose the right model for your space and painting style.
Quick Setup Checklist
Here’s a simple table to recap the key steps. Feel free to print it or save it somewhere handy.
Step | Action | Reason |
|---|---|---|
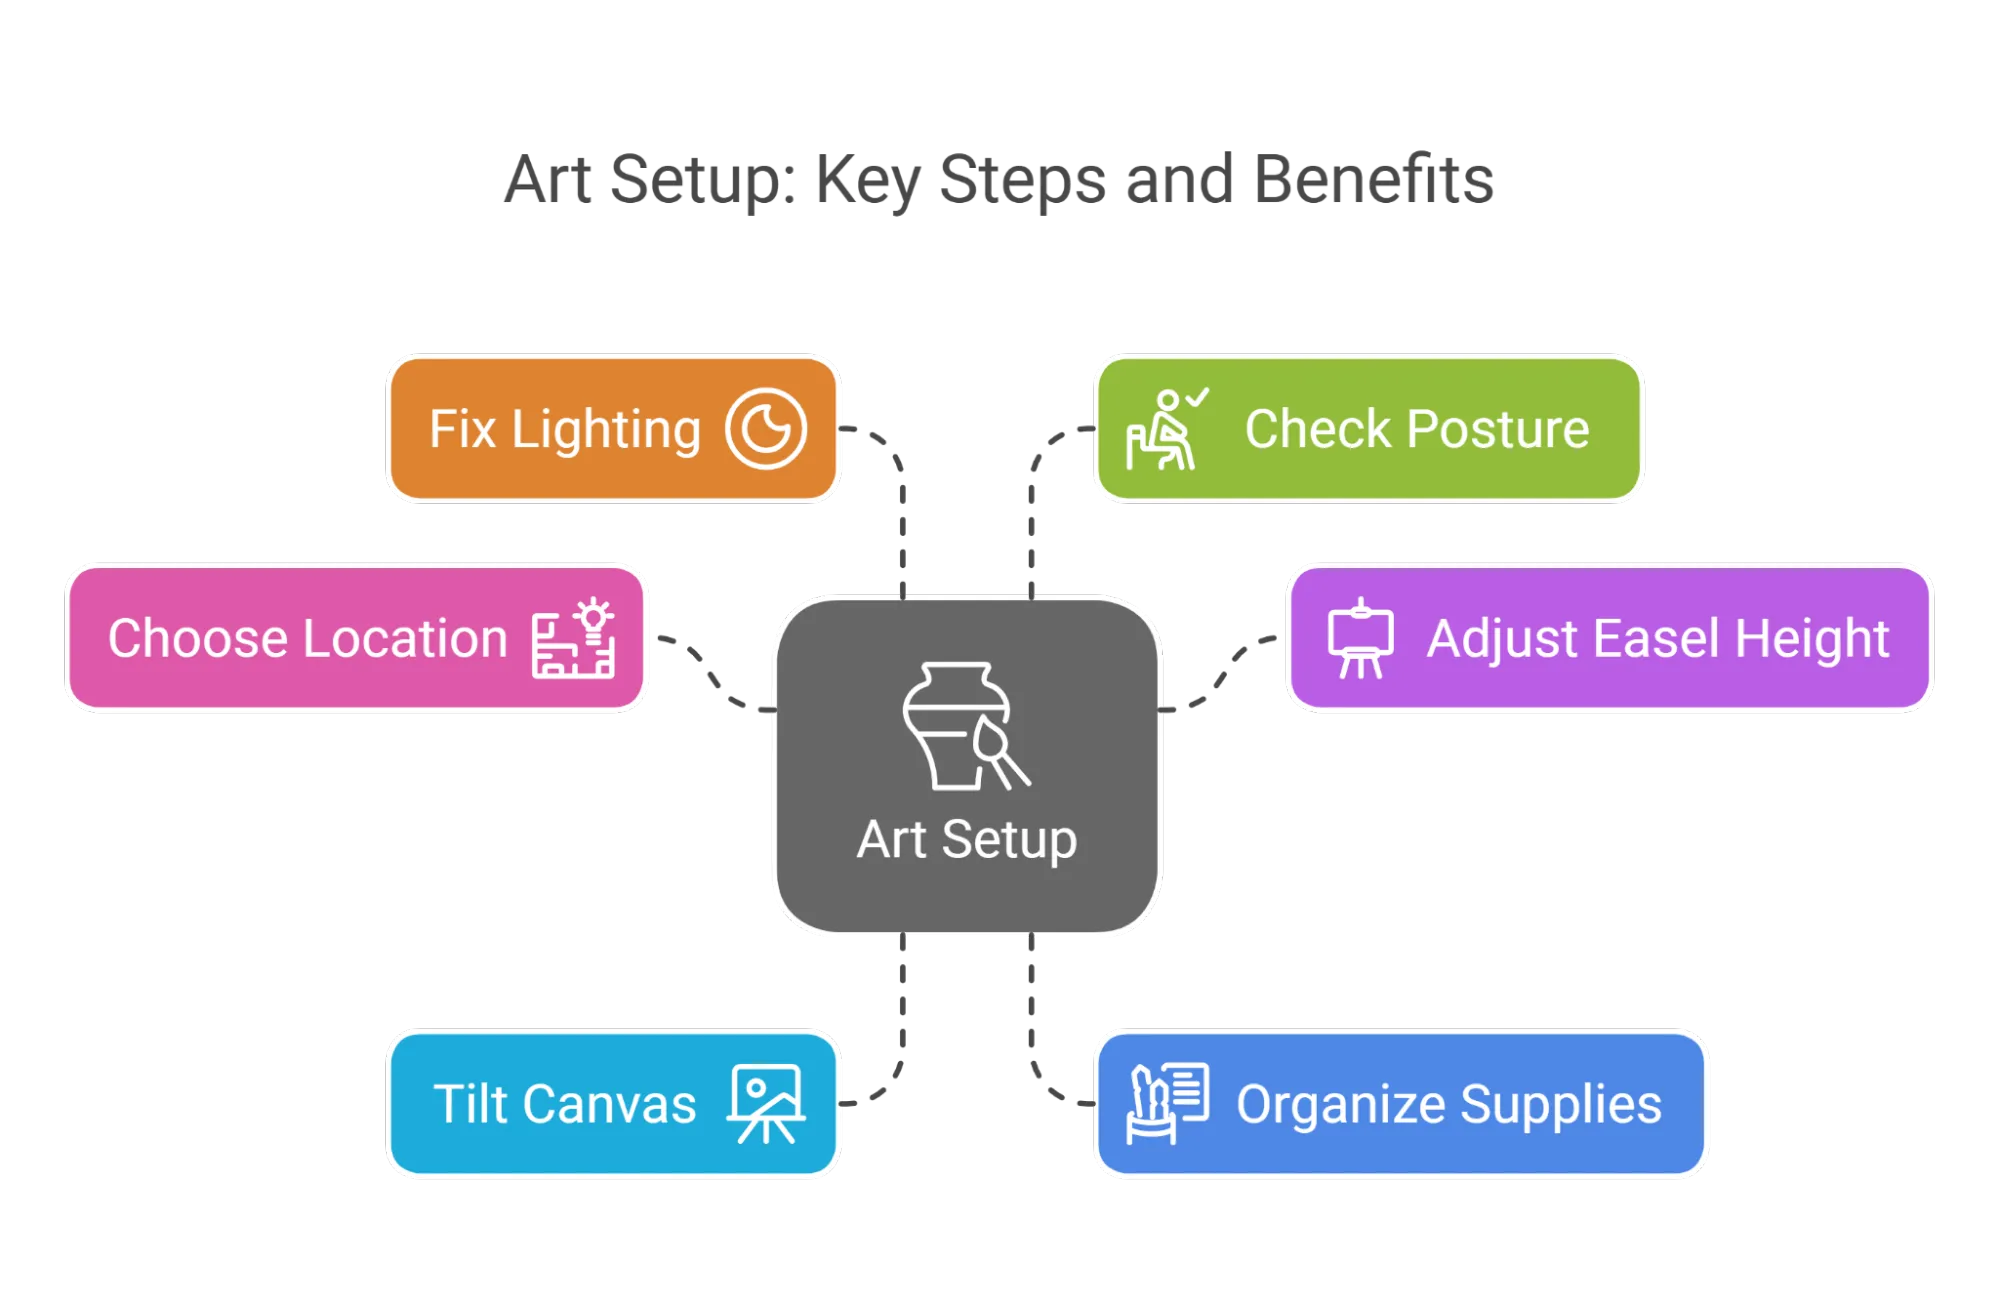
1. Choose the Location | Find a spot with good light and enough space | So you can move freely and see colors clearly |
2. Adjust Easel Height | Align canvas near eye level | Helps maintain better posture |
3. Tilt Canvas | Find a comfortable angle | Makes painting simpler and reduces strain |
4. Organize Supplies | Keep essential items within reach | Saves time and mental energy |
5. Fix Lighting | Use natural or multiple light sources | Improves color accuracy and visibility |
6. Check Your Posture | Relax shoulders, move occasionally | Lowers risk of aches and boosts focus |
Final Thoughts
Setting up your easel for comfort and efficiency might sound like a small step, but it can change your entire painting experience. When your back isn’t hurting, and your tools are arranged just right, you can focus on the fun part: creating art. Plus, you’ll be able to paint longer and more often, which is the real secret to growing as an artist.
If you still don’t have an easel or want to upgrade, don’t forget to check out Blick Art Materials. They have a wide range, and you can probably find something that meets your budget and preference. Once you’re set up, your painting sessions can become more comfortable and enjoyable. So set up your easel with these easy steps, and enjoy each brushstroke in a cozier, happier space.