How to Properly Prime and Prepare a Linen Canvas
Learn how to properly prime and prepare a linen canvas for painting. Step-by-step tips on sizing, applying gesso, and getting a smooth, paint-ready surface.

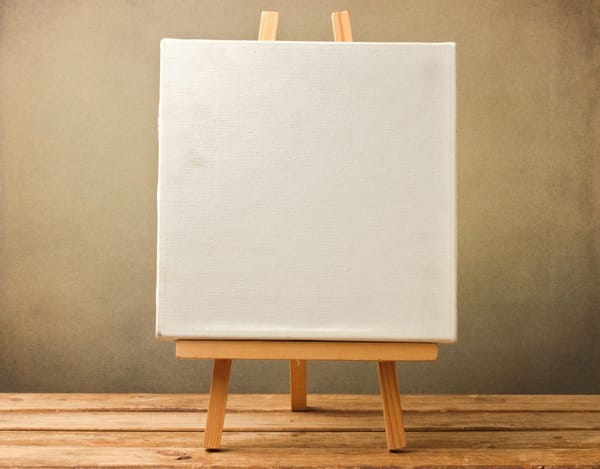
Have you ever felt lost when facing a blank canvas? Pro artists can talk about their methods online, and it can look complicated. But don’t worry—priming and preparing a linen canvas can be simple and fun. With a few tools and a clear plan, you can set up a painting surface that feels smooth and lasts a long time.
Why Should You Use Linen Canvas?
You may ask: Why linen canvas and not cotton or another type of fabric? Linen has a solid reputation for its strength and smooth texture. It can hold up over time, which is why many folks consider it a premium option. Some compare linen to a long-lasting tooth; once it’s in good shape, it won’t cause trouble for years. Linen fibers tend to resist sagging, helping your artwork remain stable for ages.
Yes, linen does cost more, and it might feel like a commitment. But if you want a surface that reliably retains paint and keeps your artwork looking great, linen is a great choice. Plus, once you get into the habit of prepping it, you’ll see that it’s not as tricky as it sounds.
What You’ll Need Before You Start?
To get your linen canvas ready, you’ll want to gather a few items. Doing this in advance makes the process flow better. You’ll avoid that annoying moment where you realize halfway through that you’re missing a tool. Here’s a quick rundown in a simple table:
| Item | Purpose |
|---|---|
| Pre-stretched linen canvas or linen fabric | The core surface you’ll be working on |
| Staple gun (if stretching fabric) | Fastens linen to the frame |
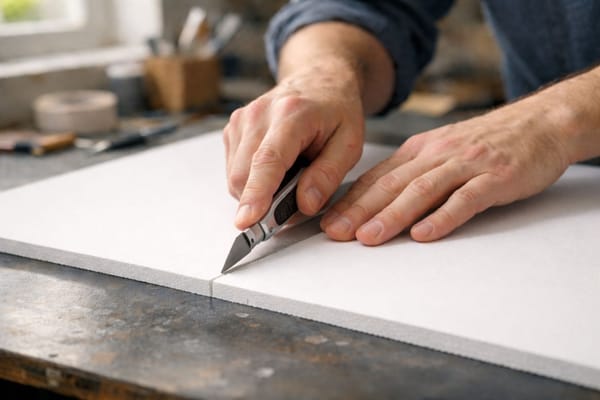
| Scissors | Helps trim excess linen |
| Brushes (various sizes) | Applies sizing layer and gesso |
| Sizing medium (e.g., rabbit skin glue or acrylic polymer) | Protects fibers from direct paint contact |
| Gesso | Primes the surface for paint |
| Sandpaper (fine grit) | Smooths out any bumps between coats |
| Gloves and apron | Keep your hands and clothing clean |
| A well-ventilated workspace | Keeps fumes away and helps layers dry properly |
Once you have these items, you’re set to begin. If you plan to stretch your linen, make sure you also have a solid frame—this could be a set of stretcher bars from an art store or a custom-made wooden frame.
Step 1: Decide Whether to Stretch Your Linen
Some people buy linen fabric and stretch it themselves. Others buy pre-stretched linen canvases. Both have their perks:
Stretching Your Linen:
- More control over tension and size.
- Often cheaper in the long run.
- Requires a bit of skill and the right tools.
Buying a Pre-Stretched Linen Canvas:
- Saves time.
- Handy if you’re new to painting.
- Costs more, but it’s ready to go.
Step 2: Stretching the Linen Canvas (If Needed)
Assemble Your Stretcher Bars
If you have a set of stretcher bars, fit them together to create a rectangular or square frame. Double-check that the corners form right angles. You can lightly tap them if they’re tight.
Position the Linen
Lay your linen fabric out on a clean floor or table. Put the wooden frame on top, leaving enough extra fabric on all sides so you can wrap and staple.
Start Stapling
Pick one side to begin with. Pull the linen snug over the back edge of the frame and staple it near the center. Move to the opposite side, pull the linen tight again, and staple it in the center. Then, do the same with the other two sides. After that, work outward from the center staples, pulling the linen tight each time. This keeps the tension even. You don’t want wrinkles, and you don’t want it so tight that the fabric tears. Try to find a balanced pull, kind of like flossing your teeth, where you want enough tension to clean effectively but not so much that you hurt your gums.
Check for Tension
Flip your canvas occasionally and tap on it lightly. If it sounds like a gentle drum, you’re good. If you see prominent wrinkles, adjust as you go. It might take a bit of patience. Don’t worry if the process feels awkward at first.
Visit Blick Art Materials and buy premium and authentic Linen products
Step 3: Apply a Sizing Layer
Why Sizing Matters?
Linen fibers are natural, and paint can damage them over time if you don’t protect them. That’s where “sizing” comes in. It’s like putting on a protective coat that blocks paint or the next steps from soaking into the linen too much. Some people skip sizing, but I recommend it if you want your artwork to last.
Types of Sizing
You can use rabbit skin glue or acrylic polymer sizing. The first is more traditional, and the second is more modern. Both work fine. If you’re not sure which to use, you can try a small batch of each on scrap linen to see which you prefer.
How to Do It
Mix Your Sizing
Follow the instructions on the bottle or package. Each brand has a slightly different ratio. Use warm water if you’re working with something like rabbit skin glue.
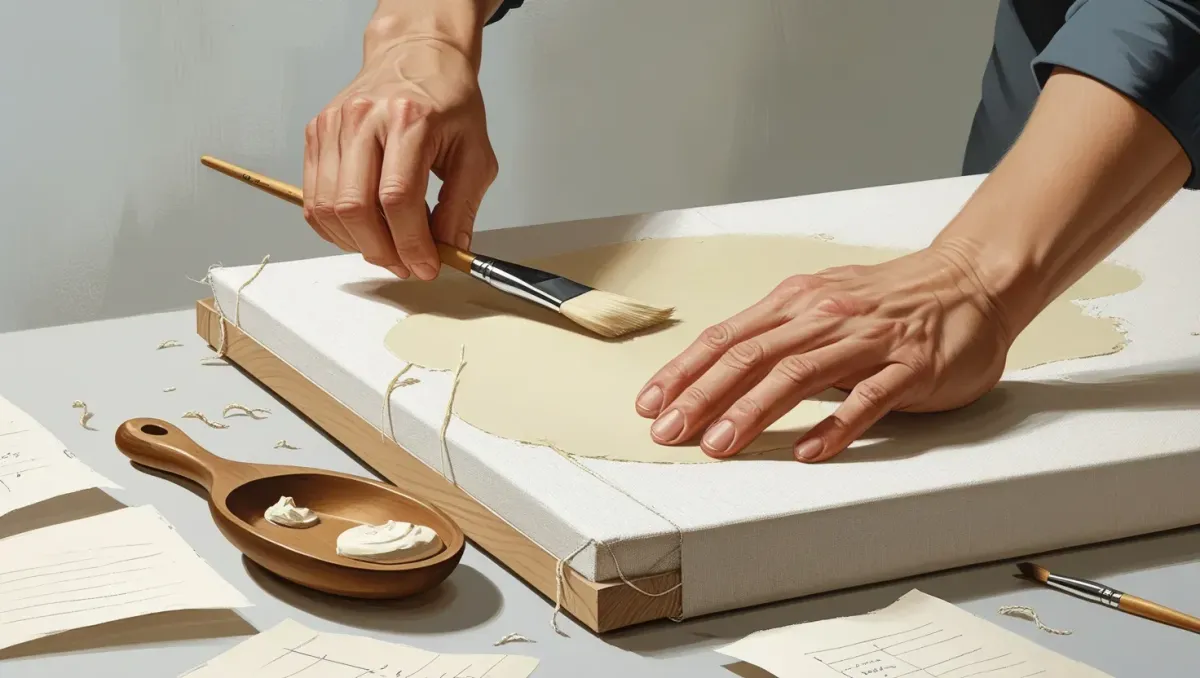
Brush It On
Lay the canvas flat. Dip a broad brush into the sizing mixture and apply a thin layer. You want an even coat without drips.
Let It Dry
Depending on the type of sizing, drying can take a few hours or overnight. Place your canvas somewhere with good airflow.
Check for Trouble Spots
After it’s dried, check for patchy areas. If it looks uneven, apply a second coat.
Once the sizing dries completely, your linen has a defense layer.
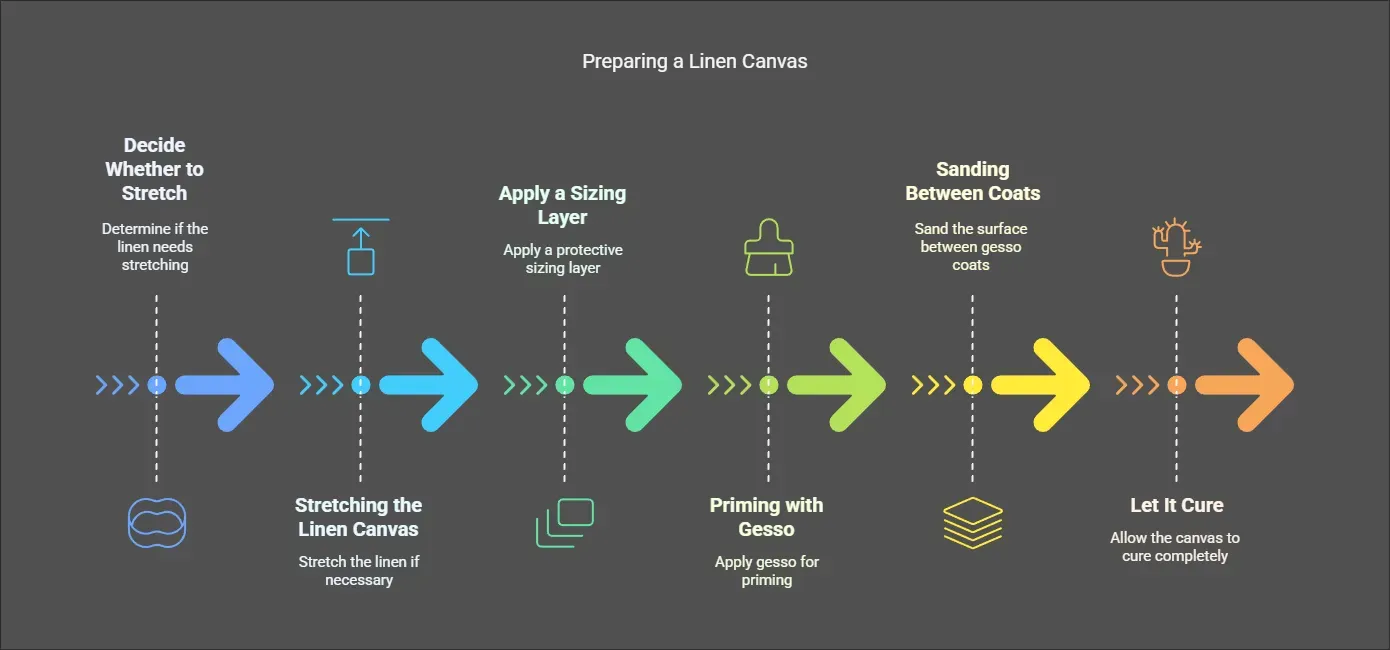
Step 4: Priming with Gesso
What Is Gesso?
Gesso is a blend of chalk, binder, and pigment—often white. It helps paint stick to your canvas and creates a consistent surface. Some folks compare it to brushing on a protective cover that keeps the final artwork bright and durable.
Types of Gesso
There is acrylic gesso, oil-based gesso, and even clear gesso. If you plan to paint with acrylics or oils, you will likely use acrylic gesso. Oil-based gesso is more traditional but not always as user-friendly. Clear gesso is fun if you want the natural color of the linen to show through.
How to Apply Gesso
Stir or Shake
If your gesso has been sitting around, stir it with a stick or a brush handle. It can separate over time, so it’s best to mix everything.
First Layer (Thinned)
Some artists like to thin the first layer of gesso with water, which helps it glide over the linen easily. Pour a small amount into a separate container, add a bit of water, and mix until smooth.
Brush Technique
Use a broad, flat brush or a foam brush. Start at one corner and move in long strokes across the canvas. Try to distribute the gesso evenly—like spreading icing on a cake. Avoid leaving big brush marks or ridges.
Let It Dry
Place your canvas in an undisturbed spot. It might take a few hours to dry, but if you live in a humid place, it could take longer.
Second Layer
After the first coat is dry, lightly sand the surface with fine-grit sandpaper. Wipe away the dust with a cloth, and then apply another layer of gesso. Depending on how smooth you want the surface to be, you can apply two or three layers in total.
Step 5: Sanding Between Coats
When your gesso dries, it can feel a bit rough. If you like some tooth to your canvas, keep it that way. But if you want a smoother surface, gently sand each layer after it dries. Fine-grit sandpaper works best (somewhere around 220 to 400 grit). Sand in light circles or short strokes. Don’t go too deep, or you’ll remove the gesso entirely. After sanding, use a soft brush and remove dust before applying the next layer.
Step 6: Let It Cure
Even though your gesso might feel dry to the touch, it’s a good idea to let the canvas rest for at least 24 hours—some wait even longer. This waiting period helps all the layers settle and bond. It’s similar to letting a filling harden properly before chewing on that side of your mouth. If you start painting too soon, you might run into problems like peeling or cracking later on.
Optional Step: Tone the Canvas
Some artists prefer to add a colored ground on top of the white gesso. They might mix a small amount of paint with the final layer of gesso or paint a thin wash of color over the primed surface. This can help you avoid the stark white glow that sometimes shows through your paint. If you decide to do this, keep it light. A subtle tone can give your painting a different vibe right from the start.
Common Mistakes and How to Avoid Them
| Mistake | What Happens | How to Avoid |
|---|---|---|
| Rushing the drying time | Gesso cracks or peels | Leave enough drying time between coats |
| Using too much gesso at once | Thick ridges, uneven texture | Apply thin layers instead of one heavy coat |
| Not sizing the linen | Paint or oil seeps into fibers | Use a sizing medium first to protect the canvas |
| Over-sanding | Removes the gesso layer | Sand lightly with fine grit paper, and keep an eye on the depth |
| Skipping ventilation | Strong fumes, sticky surface | Work in a room with fresh air circulation |
Where to Buy?
When you browse Blick Art Materials online or in-store, you’ll see that linen canvases come in plenty of forms. Some are primed with acrylic gesso, which suits both acrylic and oil paints, while others feature oil-based primers specifically tailored for oil painters.
Each canvas description explains the weight, texture, and framing style. You might even find brand recommendations for projects that require super-fine detail or heavier paint layers. This level of detail takes the guesswork out of purchasing a linen canvas, especially if you’re still new to the materials world.
Final Thoughts
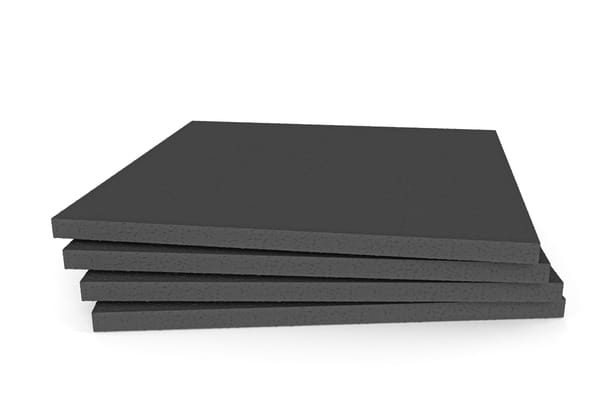
Preparing a linen canvas can feel like a big task when you’re getting started. If you’re not sure where to begin, start small. Try a small linen panel or a small piece of fabric on a homemade frame. Don’t be afraid to experiment with different brands of sizing or gesso. Over time, you’ll develop a routine that suits your style. You might prefer two coats of gesso, or you might go for three. You might love sanding between coats, or you might decide you prefer a bit of texture.