How to Organize and Archive Your Artwork with a Flat File System


Sometimes, you’re getting ready to show someone your artwork, but you can’t remember where you stored that perfect pencil sketch or that bright watercolor painting. Maybe it’s buried under a pile of older pieces or tucked away in a closet corner. That’s where a flat file system can be a big help. A flat file keeps your art safe and sorted, so you can focus on the fun part—being creative—without worrying about clutter.
In this post, we’ll look at simple ways to set up a flat file and archive your artwork in a way that’s easy to maintain. You’ll see how to group your pieces, label them, and keep them safe from dust or damage. By the end, you’ll have a clear method to store and find your art whenever inspiration hits, or you want to show it off.
Why a Flat File?
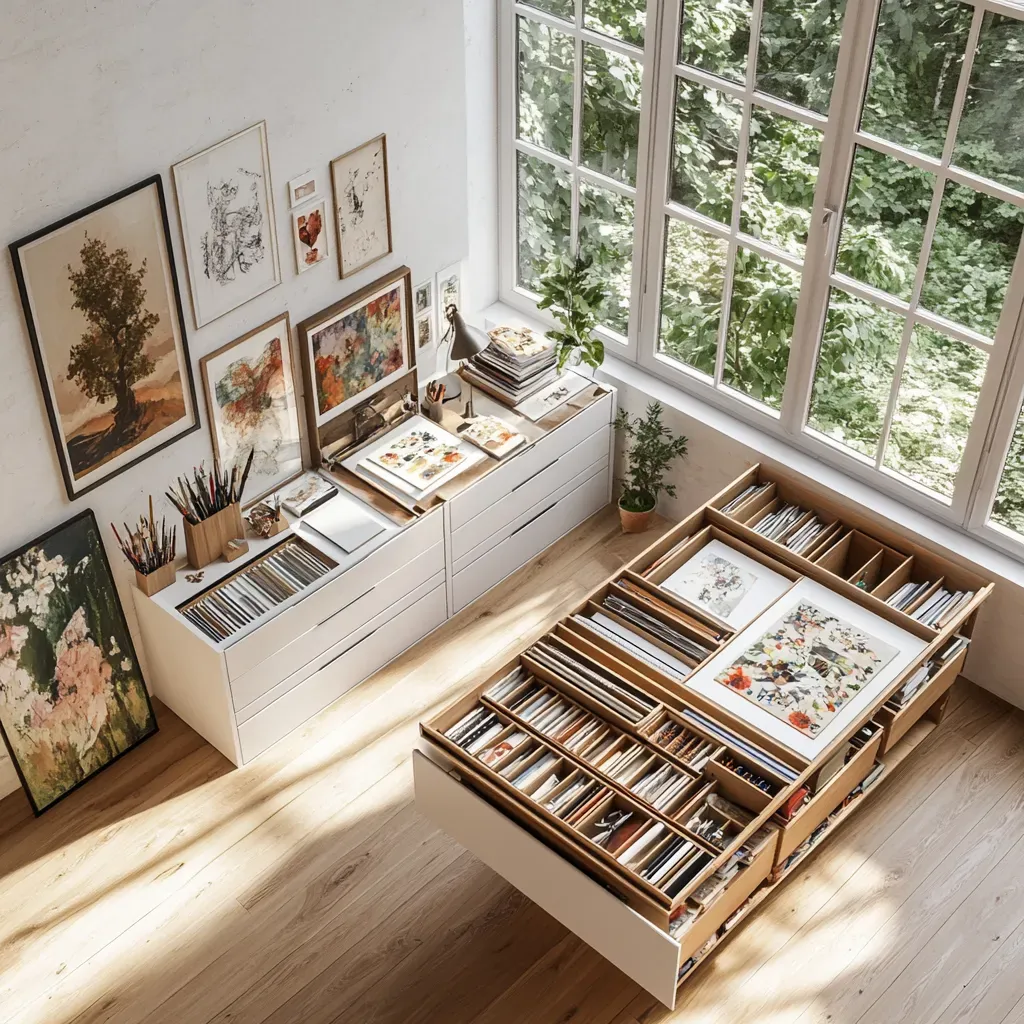
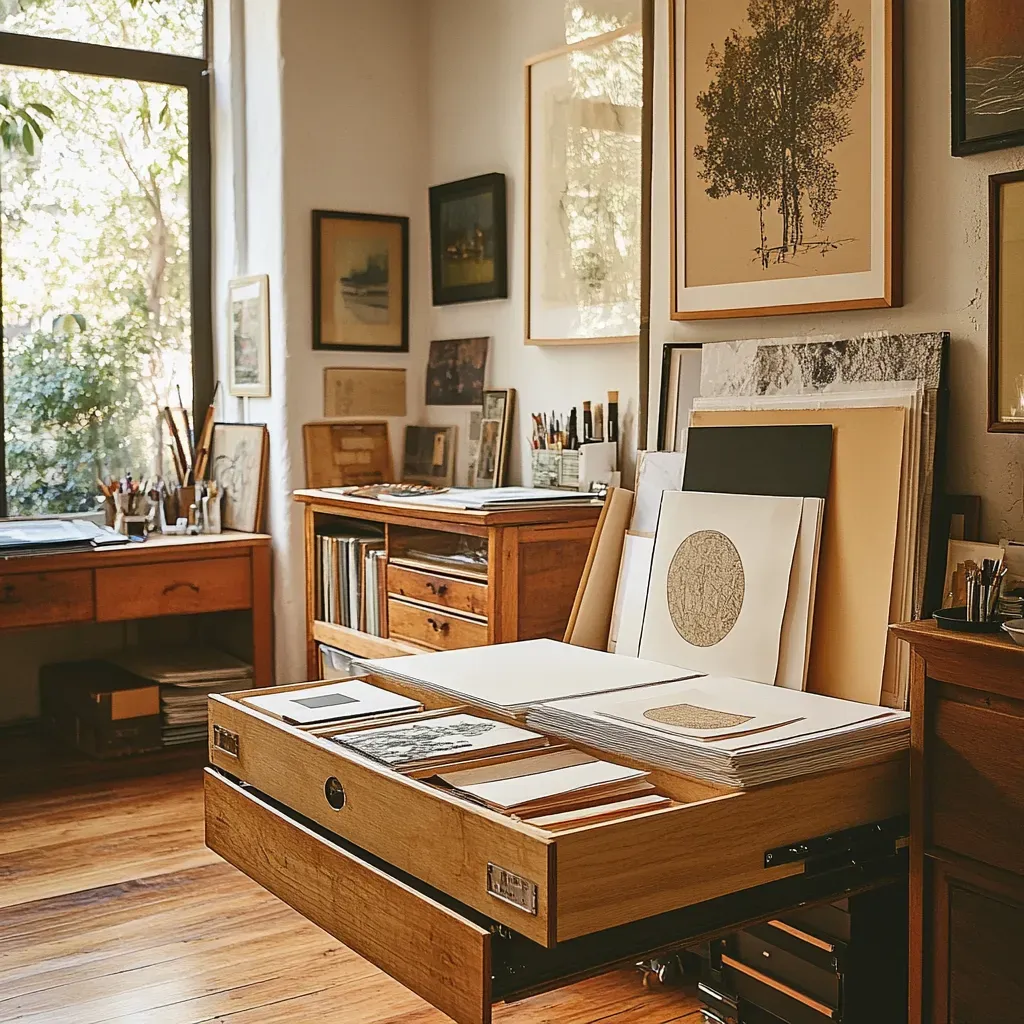
A flat file is a set of broad, shallow drawers that let you store your artwork flat instead of rolling or stacking it. You might have seen these in art schools, design studios, or museums. There are a few big reasons people love this style of storage:
No More Creases or Bends
Rolling paper or piling canvases can lead to unwanted damage. A flat file lays everything flat, reducing the risk of dents or curled edges.
Simple Sorting
Multiple drawers let you divide your pieces by date, theme, or style. It’s like having a library of your creations at your fingertips.
Protected from Dust
Each drawer shields your art from dust or sunlight, which can cause discoloration or fading over time.
Professional Look
A well-organized flat file can make you feel more confident about your art space, whether a personal studio or a shared work area.
Step 1: Sort and Categorize Your Artwork
Before you move anything into your flat file, spend some time sorting your current collection. Lay out your pieces on a table or the floor to see everything. Then, group them in a way that feels logical to you.
- By Medium: Keep watercolors, acrylics, charcoals, and other mediums in separate piles.
- By Theme: Keep those together if you have a series of landscapes or portraits.
- By Date: If you like to track your growth over time, you might group them by year.
Step 2: Clean and Prep the Flat File
If you own a flat file, quickly wipe it before adding any art. Dust or debris can stick to paper and leave marks. If your file is new, it might need a light cleaning. If it’s second-hand, a bit more attention could be required.
- Wipe Drawers: Use a soft, lint-free cloth to remove dust. Use a mild cleaner on a damp cloth if there are smudges or stubborn spots.
- Check Drawer Glides: Make sure each drawer slides smoothly. Add a tiny amount of lubricant to the glide rails if it feels sticky.
- Add Protective Sheets (Optional): Some artists line their drawers with acid-free paper or a thin board.
Step 3: Use Interleaving Paper for Sensitive Art
If you have works on paper—especially pastel or charcoal drawings—placing sheets of interleaving paper between them can help keep smudges to a minimum. Acid-free tissue or glassine paper is widespread because it won’t react with your art.
Why It Helps
It prevents surfaces from rubbing. Place interleaving paper on top of each artwork before stacking the next piece. This acts like a barrier without taking up much space.
You might not need interleaving paper for sturdy works like acrylic paintings on canvas, especially if the paint is fully cured. But for delicate or heavily layered pieces, it can be a lifesaver.
Step 4: Label and Organize Each Drawer

Labeling is the key to quickly finding your art. After you’ve decided on categories, think about how you’ll mark each drawer. Some flat files come with little label holders, while others need a simple sticker or tape on the drawer front.
- Drawer Labels: Write something like “Watercolor Landscapes” or “Sketches 2023.”
- Sub-Folders: Use large acid-free envelopes or folders to separate categories.
- Document Info: Write the title, date, and notes on a small card and store them with the artwork.
Step 5: Maintain a Basic Inventory
If you’re serious about archiving, a simple inventory system can help you keep track of what you own. It could be a spreadsheet or a small notebook. Write down the title of each piece, the date, the size, and where it’s stored.
Example of a Simple Inventory Entry
| Title | Date | Size | Location |
|---|---|---|---|
| Sunset Field | June 2023 | 11x14 inches | Flat File Drawer 1, Pastels |
| Night Street | August 2022 | 16x20 inches | Flat File Drawer 2, Acrylics |
| Study of Hands | April 2021 | 9x12 inches | Flat File Drawer 3, Sketches |
You can adapt this table to suit your needs. The idea is to have a quick reference if you’re searching for a specific piece or want to track your progress over time.
Extra Tips for Archiving
- Rotate Your Work: Pull pieces out occasionally to air them out and prevent moisture buildup.
- Check for Pests: Watch for bugs or rodents and handle signs of infestation promptly.
- Keep Away from Extreme Temperatures: Store in a climate-controlled area to avoid warping or cracking.
Where to Buy an Easel and Other Art Supplies
You’ve got your artwork under control, so now might be the perfect time to spruce up other parts of your studio. If you’re shopping for a sturdy easel or want to restock on paints and brushes, consider checking out Blick Art Materials. They have a wide range of art supplies, including different kinds of easels to fit your space.
Long-Term Storage vs. Ongoing Projects
Your flat file can hold works-in-progress and finished pieces, but you should separate the two. Keep ongoing work in easily accessible drawers near the top. Store completed works in the lower drawers to preserve them and reduce wear.
For long-term protection, consider acid-free sleeves or archival-grade boards for support.
Dealing with Common Issues

- Dust Buildup: Wipe drawers and ventilate your room.
- Warping or Curling: Use silica gel packets or a dehumidifier.
- Overcrowding: Give your artwork room to breathe.
Balancing Access and Protection
You want your artwork protected but also accessible. That’s the beauty of a flat file—it combines both. If you transport artwork, use a portfolio case, and when you return, simply slide them back into the proper drawer.
Final Thoughts
Organizing and archiving your artwork with a flat file system can be a refreshing step toward keeping your creative space clutter-free. Labeling, sorting, and storing makes it easier to reflect on your growth and find your work quickly.
A well-organized flat file honors your efforts and gives your work the respect it deserves. Take these steps and show yourself—and the world—that your art matters.