How to Get the Most from Your Art Projector

Looking for a way to transfer your images onto a larger surface with precision and ease? The art projector is the solution you’ve been searching for. By projecting your image onto your desired surface, you’ll save time and improve accuracy in a snap.
Artists, designers, and hobbyists can all benefit from the convenience and efficiency of using an art projector. In this article, we’ll explore the various ways you can make use of this valuable tool, from transferring sketches onto canvas to creating large-scale projects with ease. So whether you’re looking to take your creative endeavors to the next level or simply save time and hassle, the art projector is a must-have tool for anyone who wants to make the most of their artistic pursuits. Keep reading to learn more!
Understanding Art Projectors
rtists, designers, and hobbyists use art projectors to project their desired design onto a surface. Opaque projectors transfer printed or drawn images onto a surface by shining light through them, making it easy to trace or draw. Digital projectors use technology to project digital images onto a surface. Overhead projectors are designed to project images from above. Each type of art projector offers unique features and benefits.
Types of Art Projectors and Their Features
Opaque Projectors
- Can project images of any size and can be used in daylight.
- Require a printed or drawn image to project.
- Usually bulkier and less portable than other types.
Digital Projectors
- Can project digital images, such as photos or designs created on a computer.
- Allow for precise image sizing and adjustment.
- Require a power source and some technical expertise.
Overhead Projectors
- Allow for projecting images from above, making them useful for classroom or group settings.
- Can project multiple images at once with the use of transparencies.
- Often less portable than other types.
While each type of art projector has its unique benefits, there are also cons to consider. Opaque projectors are great for daylight use and projecting images of any size, but they can be bulkier and less portable. Digital projectors are perfect for precision and ease of use but require a power source and some technical expertise. Overhead projectors are great for group settings and projecting multiple images at once but can be less precise and less portable. By weighing the pros and cons of each type, you can find your perfect match.
Choosing the Right Art Projector
Selecting the right art projector can be overwhelming, but following these steps can make it a more manageable process:
- Determine your project needs and the type of images you’ll be projecting. Consider the size and complexity of your designs and whether you’ll be working with printed or digital images.
- Consider the size and portability of the projector. If you’ll be moving the projector frequently or using it in different locations, consider a smaller, more portable option.
- Look at the brightness and resolution capabilities of the projector. For bright and clear projections, consider projectors with high lumen levels and at least 1080p resolution.
- Consider the type of input the projector accepts. Look for projectors with multiple input options, such as USB or HDMI, to ensure compatibility with your devices.
- Read reviews and compare prices to find the best value. Check out reviews from other artists and consider the price range to find a projector that meets your needs without breaking the bank.
Comparison of Popular Art Projectors in the Market: Which One is Right for You?
There are many art projectors on the market, each with its unique features and benefits. Here’s a comparison of popular art projectors to help you make an informed decision:
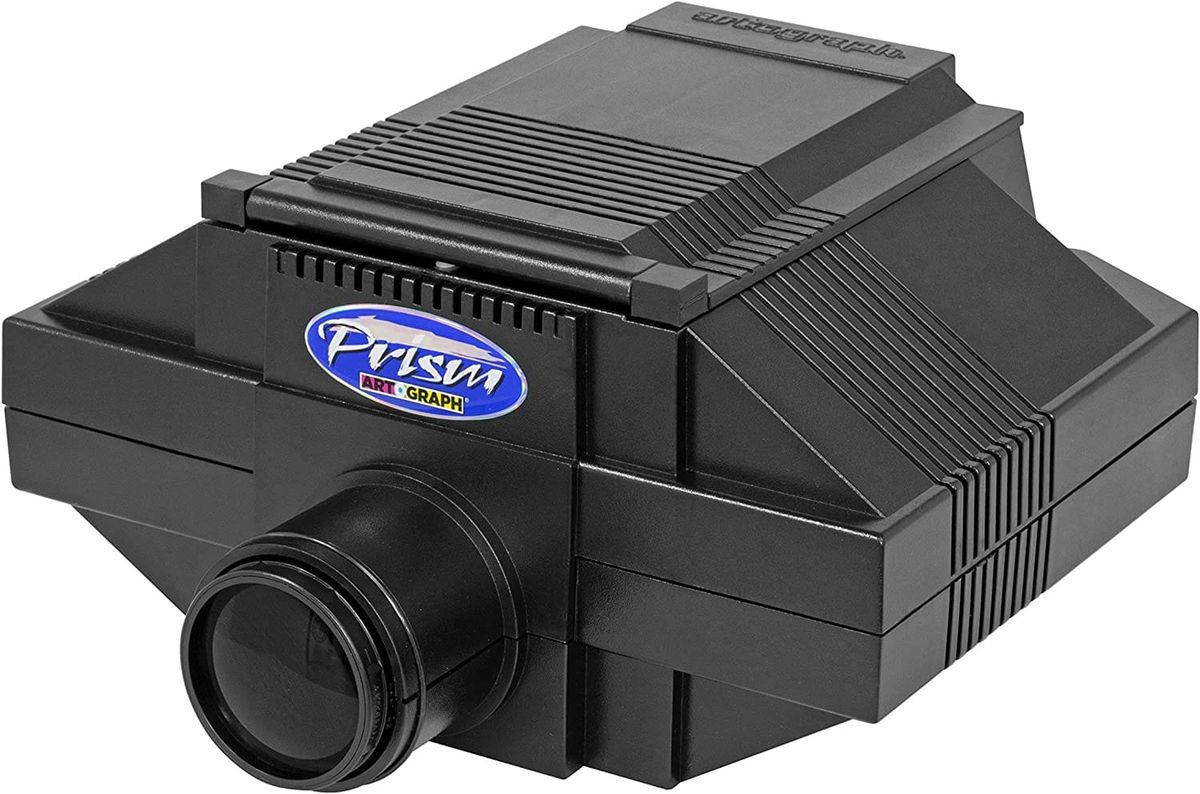
- Artograph Tracer Projector: An affordable and easy-to-use option with a compact size and clear projection. Ideal for smaller projects and hobbyists.
- AAXA P300 Pico Projector: A portable option with high resolution and brightness levels, making it suitable for a range of projects.
- BenQ MH530FHD 1080P Home Theater Projector: Offers exceptional image quality and versatile connectivity options, ideal for artists and designers who need high-quality projections.
- Epson PowerLite Home Cinema 1060 Full HD Projector: A reliable and high-quality option with excellent color accuracy, making it a great choice for professional artists and designers.
Factors to Consider When Selecting an Art Projector
When it comes to selecting the right art projector, there are several important factors to consider. Here are some key things to keep in mind:
- Brightness: The brightness of an art projector can impact the clarity and visibility of your images. A high lumen level, preferably at least 1000, can help ensure that your projections are bright and crisp.
- Resolution: The higher the resolution of your art projector, the more detail you can achieve in your projections. Look for projectors with at least 1080p resolution to ensure that your images are high-quality and detailed.
- Size and Portability: Think about where you’ll be using the projector and how easily you can move it around. If you’ll be traveling or working in different locations, a smaller and more portable projector may be the best option.
- Input Options: Consider the devices you’ll be using with your art projector, such as a computer, smartphone, or tablet. Look for projectors with multiple input options, such as USB or HDMI, to ensure compatibility with your devices.
By taking these factors into account and comparing different art projectors, you can choose the right tool for your specific needs and achieve the best possible results.
Setting Up Your Art Projector: Getting Ready to Project
Setting up your art projector properly is crucial to achieving the best possible results. Here are some key tips to keep in mind when getting started:
Finding the right location and angle is important. To begin, choose a location with a flat and stable surface to project onto. A plain white wall is often the best option, as it will provide a neutral background for your projections.
Consider the distance between your art projector and the surface you’ll be projecting onto. The further the projector is from the surface, the larger the image will be, but this can also impact the clarity and quality of the projection. Experiment with different distances to find the one that works best for your specific needs.
Finally, adjust the angle of your art projector to ensure that the image is straight and centred on the surface. This will help ensure that your projections are accurate and aligned with your artwork. By following these tips, you can set up your art projector properly and start creating stunning and detailed projections.
Best Practices for Connecting Your Projector: Linking Your Devices
- Use compatible cables to connect your projector to your computer or other device. HDMI and VGA are common options, but you should choose the one that is compatible with your projector and device.
- Adjust the display settings on your device to ensure the image fills the screen. This can usually be done in the display settings on your computer or device.
- Adjust the resolution and display settings on your projector to match those of your device. This will help ensure that your image is projected accurately.
Adjusting the Settings: Getting the Best Image Quality
- Adjust the focus and zoom settings to ensure the image is clear and in focus. Most projectors have a focus ring that can be used to adjust the focus of the image.
- Adjust the brightness and contrast settings to optimize the image for your specific needs. This can be done through the projector’s settings menu.
- Consider the color temperature settings to ensure accurate color representation. This can also be adjusted through the projector’s settings menu.
Using Accessories: Enhancing Your Setup
- Consider using a projector stand or tripod to stabilize the projector and achieve the desired angle. This will help ensure that your projector stays in place and doesn’t move around during use.
- Use extension cords or power strips to ensure the projector is positioned in the best possible location. This can be helpful if your projector’s cord is too short to reach your desired location.
- Consider using a remote control or other accessories to enhance your projector setup. Many projectors come with a remote control that can be used to adjust settings and change the image being projected.
By following these tips and best practices, you can set up your art projector with ease and get the best possible results. Whether you’re a professional artist, designer, or hobbyist, using an art projector can take your creative projects to the next level.
Preparing Your Image for Projection: Getting Your Design Ready
When preparing your image for projection, it’s essential to ensure that it is optimized for projection. Here are some tips that can help you get your design ready for optimal projection.
The first step is to crop and resize your image to match the size and aspect ratio of your projector. By doing this, you can ensure that your image is projected accurately and doesn’t appear distorted. If you try to project an image that’s too large or too small, it can lead to a distorted image, which can negatively affect the clarity and quality of your projection. Therefore, resizing your image to match the aspect ratio of your projector can ensure that your image is accurately projected.
Another important aspect of preparing your image for projection is adjusting the contrast and brightness. It’s important to optimize your image for projection to ensure that it’s visible and clear. By adjusting the contrast and brightness, you can enhance the visibility of your image and make sure that it’s clear and easy to see. This is especially important when you’re projecting in a dark or dimly lit environment, where an image that’s too dark or too bright can negatively affect the quality of your projection.
Choosing the Right Image File Type and Size: Getting the Best Results
To get the best results when projecting your image, it’s important to choose the right file type and size. Here are some tips to help you choose the appropriate image file type and size for your projector.
One of the first things to consider when selecting an image file type is compatibility with your projector. JPEG and PNG are common image file types, but it’s essential to choose the one that is compatible with your projector. Some projectors may require specific file types or may not be compatible with certain image file formats. Therefore, it’s important to check the projector manual or specifications to ensure that you’re choosing a file type that is compatible.
Another essential aspect to consider is the size of your image. Large images may take longer to load and may require more memory to display correctly. As a result, you should choose an appropriate image size for your projector. The ideal size will depend on the resolution and aspect ratio of your projector. Therefore, it’s important to check the projector specifications to ensure that you’re selecting an appropriate size for your image.
Strategies for Creating Projector-Friendly Images: Making Your Own Images
To create projector-friendly images, there are several strategies that you can use. Here are some tips to help you make images that are easy to project and produce clear and high-quality results:
Use Simple Shapes and Lines
When creating images for projection, it’s important to keep the design simple. Complex images with intricate details may not project well and can appear blurry or distorted, making them difficult to understand. Therefore, using simple shapes and lines can help ensure that your image is projected accurately and appears clear and easy to understand. Additionally, simple designs are often easier to remember and more impactful.
Choose High-Contrast Colors
Using high-contrast colors is another effective strategy for creating projector-friendly images. Choosing colors that have a high contrast between them can help make your image more visible and readable when projected. Colors that are too similar may blend together, making your image difficult to see and understand. Therefore, it’s best to choose colors that stand out from each other and have high contrast. This can help ensure that your image is visible and clear, even in low-light conditions.
Avoid Fine Details and Small Text
Images with fine details or small text may not be visible when projected and can negatively affect the clarity and quality of your image. Therefore, it’s best to use larger text and bold images that are easier to read and understand when projected. Additionally, it’s important to avoid using images with too many details or elements that may not be necessary for the message you are trying to convey. A simpler design with fewer details is often more effective in a projection setting.
By following these strategies, you can create images that are easy to project and produce clear and high-quality results. Keep these tips in mind when designing your next projection and ensure that your images have the desired impact.
Comparison of Popular Software for Image Preparation: Choosing the Right Tool
- Adobe Photoshop: A powerful and versatile tool for image preparation, with a range of features and options for adjusting images. This tool is ideal for professionals who require high-quality images for their projects.
- GIMP: A free and open-source alternative to Photoshop, with similar features and capabilities. This tool is suitable for hobbyists or those on a budget who still require advanced image editing capabilities.
- Pixlr: An online image editing tool that can be used for simple image adjustments and resizing. This tool is suitable for those who need to make basic image adjustments quickly and easily.
- Canva: A design tool that includes image editing capabilities, with templates and presets for easy image preparation. This tool is suitable for those who want to create professional-looking designs quickly and easily.
By following these tips and best practices, you can prepare your image for projection and achieve the best possible results. Whether you’re a professional artist, designer, or hobbyist, using an art projector can take your creative projects to the next level.
Tips and Techniques for Using Your Art Projector
How to focus the image and adjust its position
Using an art projector can be an exciting and valuable tool in creative projects. However, getting the most out of your art projector requires knowing how to properly focus the image and adjust its position. Here are some tips and techniques for achieving the best results with your art projector:
Adjust the Focus Ring
Adjusting the focus ring is a crucial step when setting up your art projector to sharpen and clarify the image. Typically located on the projector lens, turning the focus ring clockwise or counterclockwise allows for focus adjustments. Take the time to carefully adjust the focus for optimal image quality.
Use the Keystone Adjustment Feature
The keystone adjustment feature is another useful tool for correcting any distortion caused by the angle of your projector. This feature can help ensure that your image appears straight and true, even if the projector is not positioned at the ideal angle. Keystone correction is typically achieved through the use of buttons on the projector or through a remote control.
Utilize the Zoom Feature
Finally, the zoom feature can be used to adjust the size of the image as needed. This feature can help you to get the exact image size that you need for your project, without having to physically move the projector. Most art projectors offer a range of zoom levels, so experiment with different levels to find the one that works best for your project.
Overall we can say that focusing the image, using the keystone adjustment feature, and utilizing the zoom feature can help you get the most out of your art projector. Take the time to adjust these settings carefully and experiment with different settings to achieve the best possible results for your project.
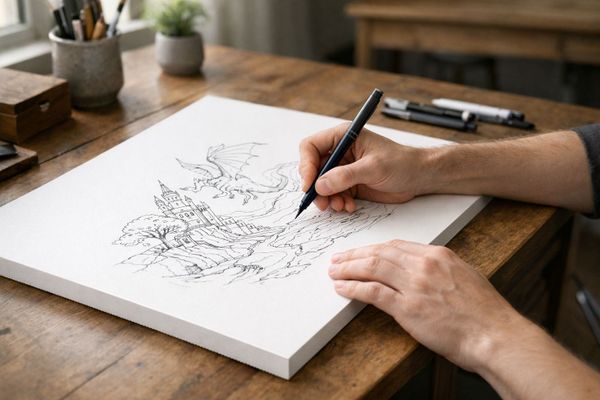
Strategies for Tracing or Sketching the Image onto Your Canvas or Surface
When it comes to creating a painting or a drawing, transferring the image from your reference onto your canvas or surface can be a daunting task. However, there are several techniques that you can use to make the process easier and more efficient.
The first technique involves using a pencil or pen to trace the image onto your canvas or surface. This method is simple and effective and can help you transfer your image accurately without much effort.
The second technique involves using a charcoal pencil or other drawing tool to sketch the image onto your canvas or surface. This technique can create a more subtle and textured line, adding depth and character to your artwork.
The third technique involves using a projector stand or tripod to hold your projector in place while you trace or sketch the image. This technique can be particularly helpful if you are working with a complex image or if you want to ensure that the image is projected accurately and stays in place while you work.
Techniques for Using the Projector to Adjust the Size
Using a projector to transfer images onto a canvas or surface is a popular technique used by many artists and designers. However, achieving the correct size of the image can be a challenge. Fortunately, there are several techniques that you can use to adjust the size of the image using a projector. Let’s explore three of these techniques:
The first technique involves using the zoom feature to increase or decrease the size of the image as needed. This method is simple and effective and can help you adjust the size of the image quickly and easily.
The second technique involves adjusting the distance between the projector and the surface to change the size of the image. This technique can create a larger or smaller image without using the zoom feature.
The third technique involves using a digital art projector that allows you to adjust the size of the image digitally. This method gives you more precise control over the size of the image and is particularly useful if you need to make small adjustments to the size of the image.
How to Use Your Art Projector for Various Art Projects: Getting Creative
Numerous individuals find working with a projector to be easy as well as enjoyable. Many schools have several art projectors on hand for use by the teachers who utilize these in their planned course of studies for their students. Some of the many other uses for the projector are as follows:
- Use your art projector to create murals by projecting the image onto a wall or large surface. This is a great way to create large-scale art quickly and easily.
- Use your art projector to create signage by projecting the image onto a signboard or other surface. This can help you create professional-looking signs quickly and easily.
- Use your art projector to create paintings by projecting the image onto a canvas or other surface. This can help you create a more accurate and detailed representation of your image.
- A proficient and rather easy technique for the enlargement and projection of patterns, prints, photographs, sketches, and designs to a multitude of surfaces. There is no longer a need for transparencies.
- Easily find the perfect composition by positioning elements, selecting the desired composition, and adding or removing features to determine if they complement the overall picture before committing it to a surface.
- Define and enhance portrait features by using a range of tones when creating paintings from a sketch or photograph.
- Use your art projector to create custom stencils by projecting the image onto a stencil material and tracing it onto the material. This can help you create detailed and precise stencils for your art projects.
- Use your art projector to create custom designs by projecting the image onto a material such as vinyl or fabric and tracing it onto the material. This can help you create custom designs for clothing, bags, and other items.
- Consider using a software program to create custom designs that can be projected onto a surface using your art projector. This can give you more control over the design and can help you create more complex and detailed images.
- Tracing the outline of images can greatly improve drawing skills and vastly improve hand-eye coordination.
- Advance one’s skills of creativity and become confident to do murals and other larger paintings.
- For either fun or as a means of income, more quickly produce exceptional paintings and decorative art work.
- Produce identical images for use of cartooning or as wall decorations. Utilize nearly any surface that can be hand-painted to develop decorations for fabric, furniture, cake icing, and pottery.
Manufacturers are continually reinventing the art projector with more user-friendly features for all skill levels. When selecting an art projector, choose one with the necessary features for frequently done projects. Art projectors are available at most office supply stores and various online retailers.
Final Thoughts
In conclusion, artists, designers, and hobbyists can greatly benefit from using an art projector to enhance their creative projects. By thoroughly understanding the workings of an art projector, carefully selecting the right one, properly setting it up, preparing images, and experimenting with various techniques and accessories, one can unleash their full creative potential.
It is important to remember that using an art projector requires practice and experimentation, and it is essential to not shy away from trying new things and exploring different techniques. By doing so, one can develop a unique style and approach to using an art projector that can take their art to the next level, bringing their vision to life with precision and detail. In summary, an art projector is a versatile tool that can help create stunning murals, signage, paintings, or other artwork that truly inspires.