A Guide to Easel Adjustments: Getting the Perfect Angle and Height

When you’re in the middle of a painting session or sketching out your latest idea, the last thing you want is to feel cramped or twisted while holding a brush. A poorly positioned easel can give you backaches and neck pain and even throw off your perspective. On the other hand, the right angle and height can help you paint more accurately and feel more comfortable.
The good news is that adjusting your easel doesn’t have to be complicated. Whether you like to stand, sit, or switch positions throughout your session, simple tweaks to your easel’s settings can make a big difference in your experience. In this guide, we’ll explore the basics of easel angles, talk about correct height placement, and share practical tips you can use no matter what kind of easel you own.
Why Easel Adjustments Matter
Your easel is the framework that holds up your canvas or drawing board. If that framework is too high or too low, or the angle is off, you might find yourself leaning forward or craning your neck to see your work. Over time, these minor stressors can add up, leading to fatigue or strain.
But comfort isn’t the only reason to focus on getting your easel adjustments right. You also need to see your artwork correctly. When your canvas sits at the correct angle, you get a clearer view of proportions, shapes, and colors.
Basic Anatomy of an Easel

Before we dig into the specifics of adjusting angles and heights, let’s talk about the main parts of an easel. While each brand might have its unique design, most easels share a few essential elements:
- Mast or Upright Bar: The tall, central piece that can hold your canvas at different heights.
- Canvas Tray or Shelf: Where the bottom of your canvas sits. You can move this piece up or down.
- Rear Leg(s): You can adjust one or more legs behind the mast for stability or change how far back your easel leans.
- Knobs or Levers: These are the tightening mechanisms that let you lock your preferred angle or height in place.
- Top Clamp or Bracket: Sometimes included to secure the top of your canvas.
Finding the Right Height
Height for Standing
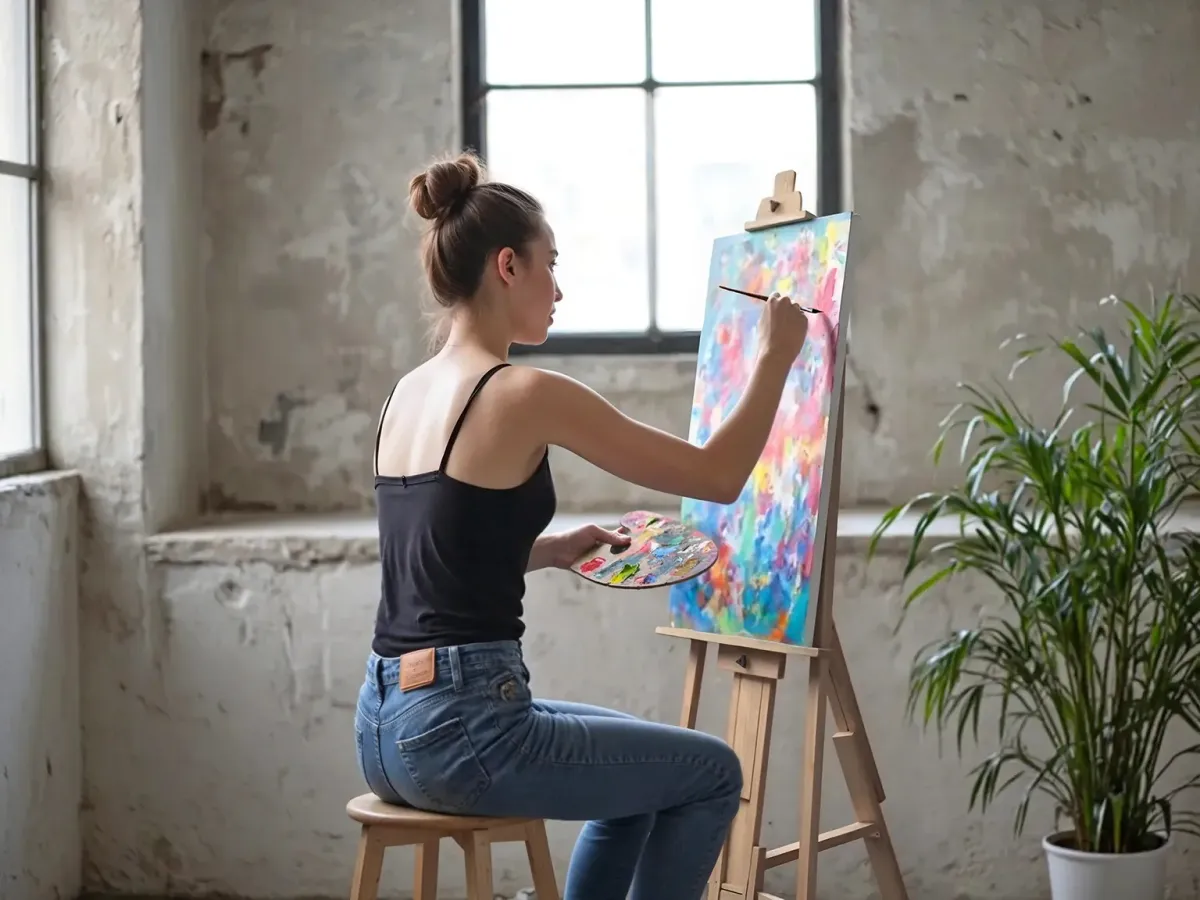
If you prefer to stand while painting or drawing, you’ll want your canvas to be at or near eye level. This lets you look straight ahead rather than stooping down or looking up. A quick way to test if you’re in the proper range is to stand upright and see if the center of your canvas lines up with your eyes or just below them. Adjust the mast or canvas tray accordingly.
- Benefits of Standing: Encourages you to step back often and view your work from a distance, which can help with overall composition.
- Potential Downsides: Standing for hours can be tiring, so consider a padded floor mat or comfy shoes if you plan to stand for long periods.
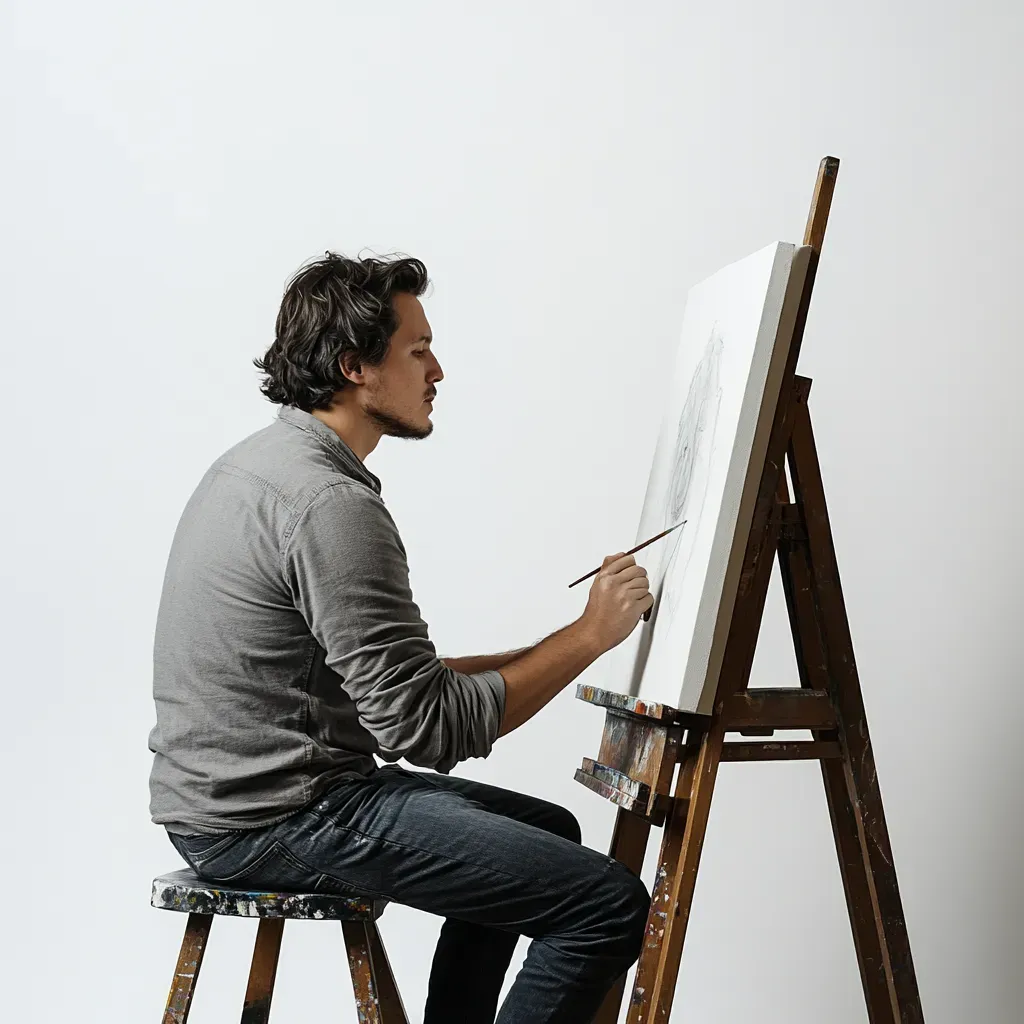
Height for Sitting
If you enjoy sitting, you’ll want to keep your canvas closer to your seated eye level. A good approach is to sit on your chair or stool, keep your back straight, and check if the middle of your canvas aligns with your eyes. This helps you avoid slouching forward.
- Benefits of Sitting: Less strain on your feet and legs, plus more stability if you like doing fine details.
- Potential Downsides: If you hunch or slouch, you could still end up with neck or back discomfort, so be mindful of posture.
Getting the Best Angle
Angle adjustments mostly depend on how you like to paint and what medium you’re using. For example, watercolorists often prefer a slight tilt to let water flow. Oil painters might like the canvas closer to vertical to reduce the chance of dust settling on wet paint.
Standard Angles and Their Uses
- Slight Tilt (15-30 Degrees)
This angle is good for watercolor or ink work because it allows liquids to flow gently without dripping too much. It can also reduce glare from overhead lighting. - Moderate Tilt (30-60 Degrees)
A versatile range that many artists find comfortable for acrylics or mixed media. You can adjust within this range to see what feels best. - Nearly Vertical (60-90 Degrees)
This angle is often used for oils or heavy-body acrylics. It helps prevent dust or small debris from landing on your painting and can simplify measuring proportions, especially for portraits.
Practical Tips for Angle and Height
- Step Back Often: Whether painting, standing, or sitting, it helps to step back occasionally to see the whole picture. If you’re hunched in close, you might miss proportion or color balance issues.
- Experiment with Small Changes: Try shifting your easel up or down just an inch or two and see how that feels. Sometimes, minor tweaks can significantly impact comfort.
- Mind Your Lighting: If you notice glare at a certain angle, tilt the canvas slightly to reduce reflections. Proper lighting also helps you see colors accurately.
- Check the Level: If your easel is on uneven flooring, place a wedge or folded piece of cardboard under one leg to keep everything balanced.
Using Easel Accessories
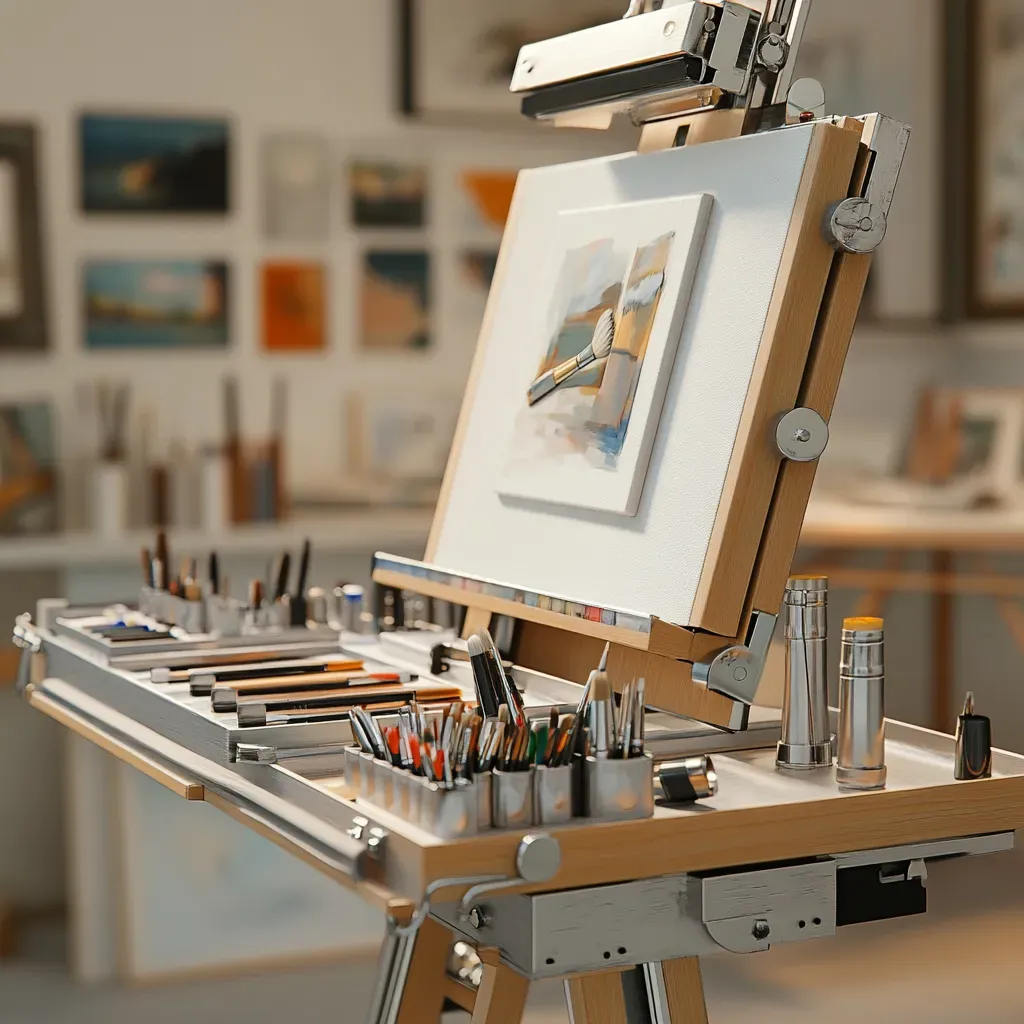
Some easels come with clips, trays, or extended arms to help you hold brushes or keep reference images handy. Consider how these accessories might impact your angle or height settings.
- Brush Holders: They might attach to the easel, so you want them at a height where you can easily grab them.
- Palette Trays: If you like your palette on the easel shelf, test the height for comfortable brush swirls.
- Reference Image Holders: If you’re using a photo or illustration for inspiration, position it so you don’t have to twist your neck to view it.
Quick Checklist for Adjustments
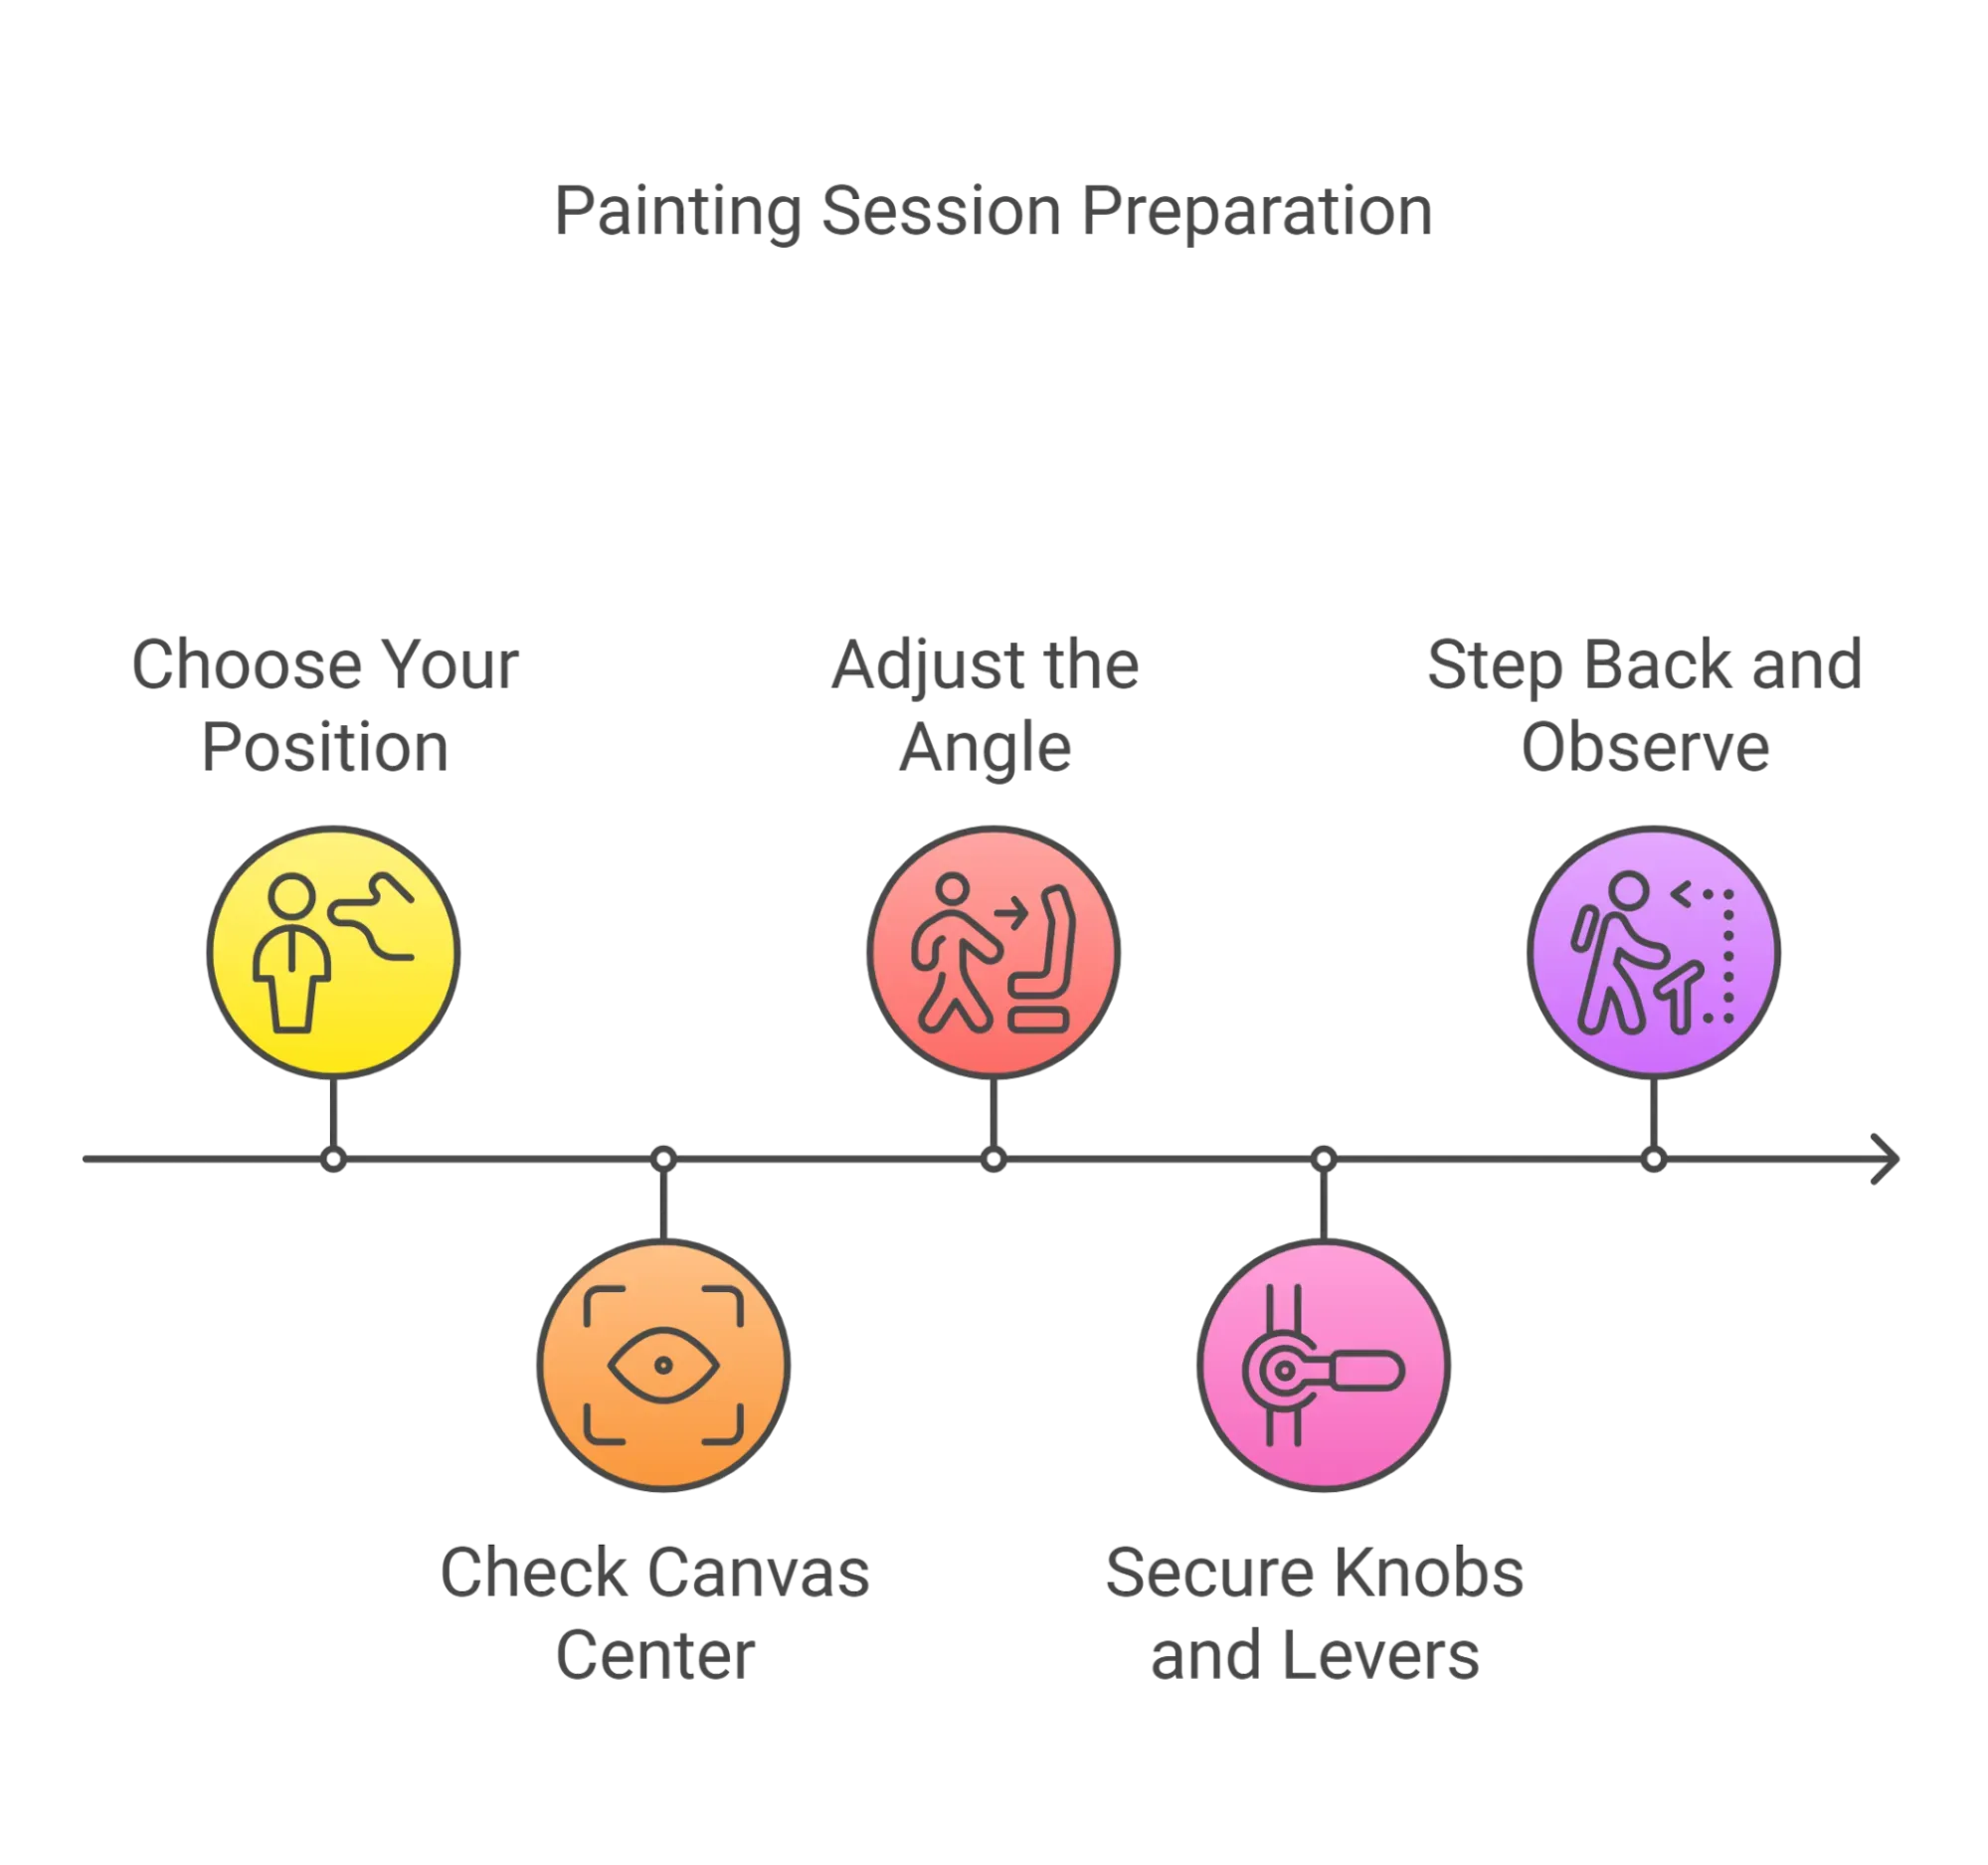
To help you remember all these details, here’s a short table you can reference before starting a painting session:
Step | Action | Reason |
|---|---|---|
1. Choose Your Position | Decide if you’re standing or sitting | Affects canvas height alignment |
2. Check Canvas Center | Position it at eye level or just below | Prevents neck strain and hunching |
3. Adjust the Angle | Tilt to match your medium and personal comfort | Reduces glare, helps with paint flow and perspective |
4. Secure Knobs and Levers | Tighten carefully, but don’t overtighten | Keeps everything stable without damaging the easel |
5. Step Back and Observe | Look at your work from a distance | Helps you spot proportion or color issues early |
Troubleshooting Common Problems
- Canvas Wobble: If your canvas feels shaky, check if the knobs are fully tightened or if the easel legs are on uneven flooring.
- Neck Pain: This often means your canvas is too low or your chair isn’t at the right height. Shift everything up a bit.
- Glare: Change the tilt or adjust your lighting. Adding a secondary lamp from a different angle can help.
- Arm Fatigue: If your arms tire, you might paint too high. Lower your canvas so your elbows are in a more neutral position.
When to Change Things Up
Don’t feel locked into one angle or height forever. If you’re working on a large, detailed piece, you might want to be more upright early on, then tilt the canvas when you’re focusing on smaller details. Some artists even switch from standing to sitting to keep their bodies comfortable over longer sessions.
Where to Get a Reliable Easel
If you’re thinking about trying a new type of easel—or just want to browse the latest models—check out Blick Art Materials. They offer a wide selection of easels, from sturdy H-frames to portable metal stands that fold up for outdoor painting. You can read product details, compare features, and pick something that matches your style and space.
Whether you’re a casual hobbyist or a full-time artist, having a comfortable and durable easel can make a real difference. Browsing online or visiting a local store can give you a sense of what’s available in your budget range.
Final Thoughts
Getting the perfect angle and height for your easel might seem like a small detail, but it can significantly impact your painting sessions. With some experimentation, you can find settings that let you work longer and more comfortably. A properly adjusted easel helps your back and neck but also aids in seeing your artwork with fresh eyes. You’ll be less likely to make proportion errors and enjoy each brushstroke more when you’re not contorting your body.
Next time you stand (or sit) in front of your canvas, pay attention to how your neck, shoulders, and arms feel. Make minor adjustments until everything aligns. It may take a bit of practice, but once you discover your ideal angle and height, you’ll see how much more enjoyable painting can be.